Raise your hand if you are ready for life after Covid-19?
This pandemic has taken its toll on this heavily extrovert woman. My events have been postponed for the year, far less meetings, not seeing colleagues & clients on any regular basis. My world has been downsized. To say the least, I am ready to break out of this life! I am a creative, eager, impatient, have to have every detail as it is in my head kind of person. For my family’s and mine own saving grace…
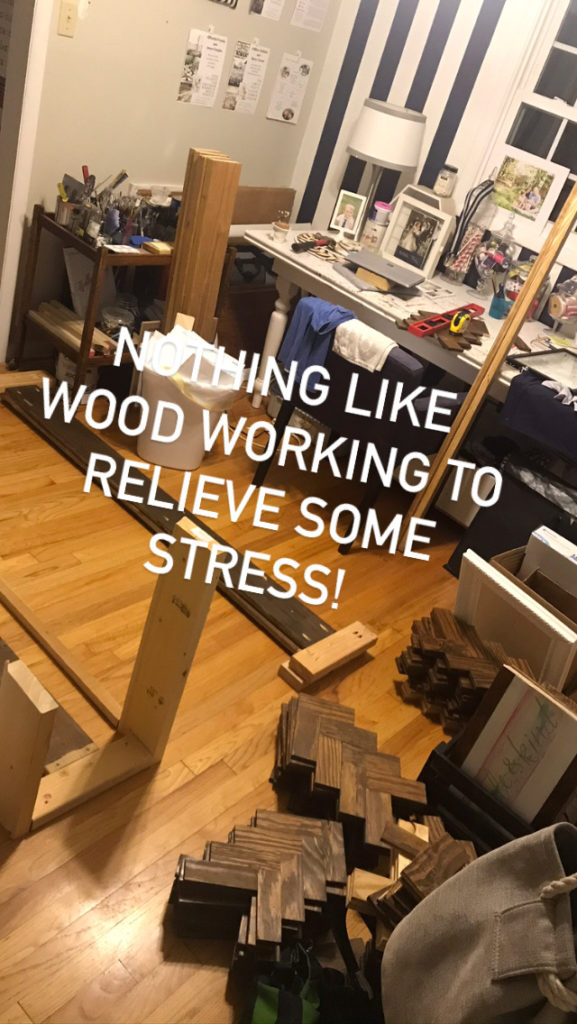
Power Tools + Creatvity = this mom’s sanity.
My office took an organizational turn, when my son decided he needed a desk under his new loft bed. “
Sure, honey, you can take mom’s desk that is only used for storage!”
So my office became stacks of storage boxes, stacks of client folders, baskets filled with random cords, and usb drives. This is not helping my covid-19 sanity problem! To top it off , children were constantly stealing my grand pair of scissors (we all have THAT pair), my stapler, and my roll of tape. THAT’S IT-MAKEOVER TIME!
So I looked around, and started with a list of what I needed in plain sight everyday:
- Essential Working Tools; Paintbrush, can openers, business cards, reading glasses, cotton twine, essential scissors, and small ribbon scissors.
- Basic details for each of my clients: Names, Dates, locations, descriptive words, inspirational photos, list of vendors.
- Simplistic storage: Storage boxes, calligraphy paper, office supplies, full client folders, branding & styling items, books, etc.
I am a visual person. If it doesn’t please the eye, it doesn’t please the brain. So not only does my office need to be functional, but also, an environment I feel inspired by. I started my research…PINTEREST!
Yes, I am a creative that still searched for hours on Pinterest. I needed an idea, of where to start. My office is the size of a nice closet, and I have alot which has to fit. Every inch was needed for storage. Most obvious was under my work table. This space had become a dumping ground for everything in my work life: extra tiles, extra wood, cake stands (stacked 5 high), tool boxes, folded fabric, and no real order.
Project #1: 3 shelf bookcase into rolling storage. Yep, its that simple! I purchased a 3 shelf bookcase from Target, flipped it on its back, attached caster wheels, and took all the shelves out (I’m sure I’ll use them for later).
In went the things I always need for branding. Fabric in my brand colors (navy, lots and lots of NAVY!). Wedding favor examples, back up cake cutting set, sparkler bin, gift card baskets, fake gift boxes, styled out pattern plates & utensils. These are items that whether I go to a styled shoot, a bridal expo, or an open house, I have these items ready to be on display for my brand.
Wow that felt good, let’s tackle something more difficult.
Project #2: A Command Center.
Most families have a wall where a calendar with schedules, places for reminders, bills, coupons, grocery lists are kept. Its what I call a visual brain on the wall. I needed something with the same purpose, but different. I needed a command center for my everyday, important items.
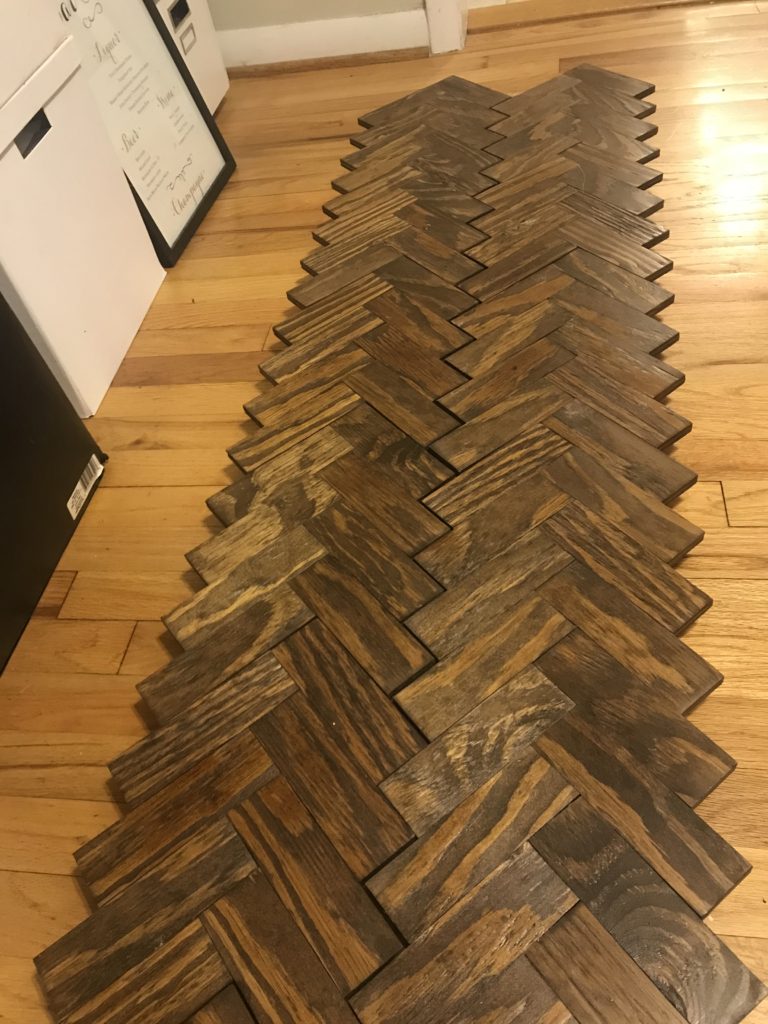
Huh, I still have those wood pieces from that wedding…..
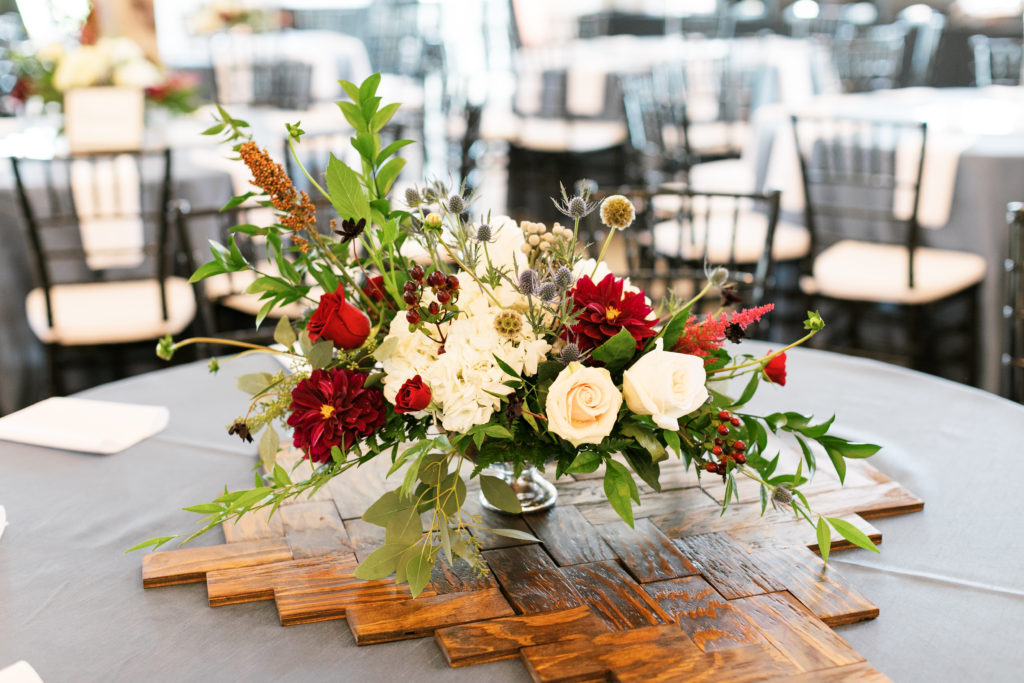
I have had this pile of herringbone wood pieces in my office for almost 2 years. I created them from 700 2″ x 6″ plywood pieces for wedding table decor. After the wedding, the bride didn’t have a use for them, so I gladly took these babies home. I knew I could use them in the future, so under my desk they went and sat, and sat, and gathered some dust, now they have seen the sun!

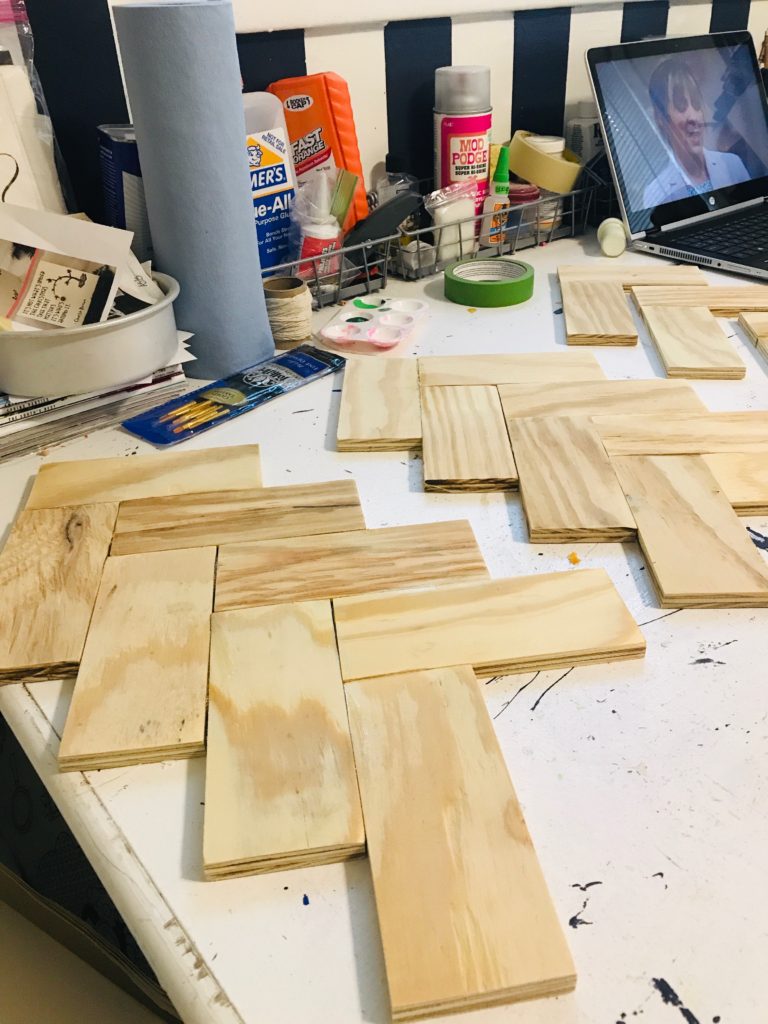
So here I go…. Measure the space, start arranging and gluing wood pieces together, Then layout the tools I need and look for the most important items…
- The scissors,
- Ribbon/Detail scissors
- Cotton Twine
- Paint & Stain Can openers
- Business Cards
- Paint brush
- Staining brush
- Mixing spoon
- Reading Glasses
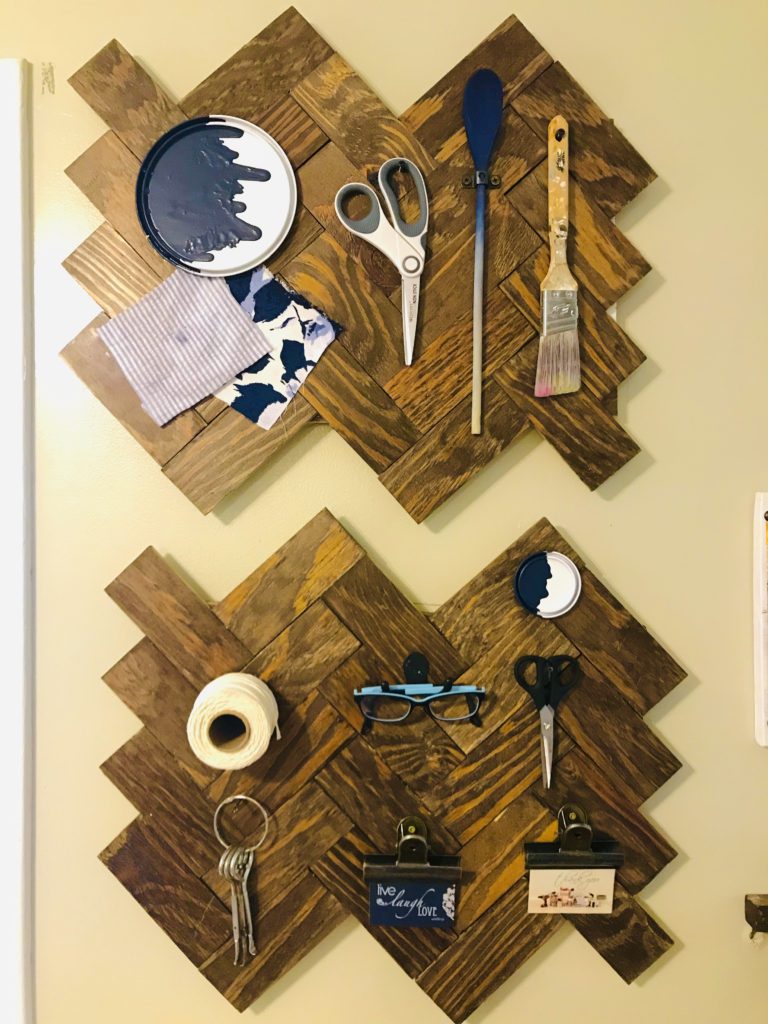
Once my wood herringbone pieces were glued together, I was arranging & placing items. I wanted it to look like a collection of my brand, so I added some dipped paint lids I had extra, and scrap pieces of fabric. Every item had a place, I could find these items easily everyday, I could see if my kids had taken them, and It looked like I was ready to work every moment of the day.
I drilled some neutral screws 1/2 the depth of the wood pieces, and started hanging my items. Bought some vintage clips from Hobby Lobby for my business cards ( I need to find them, but need to refill my pocket stash regularly). Perfect!
Now, what else do I need to remember, or keep track up everyday?
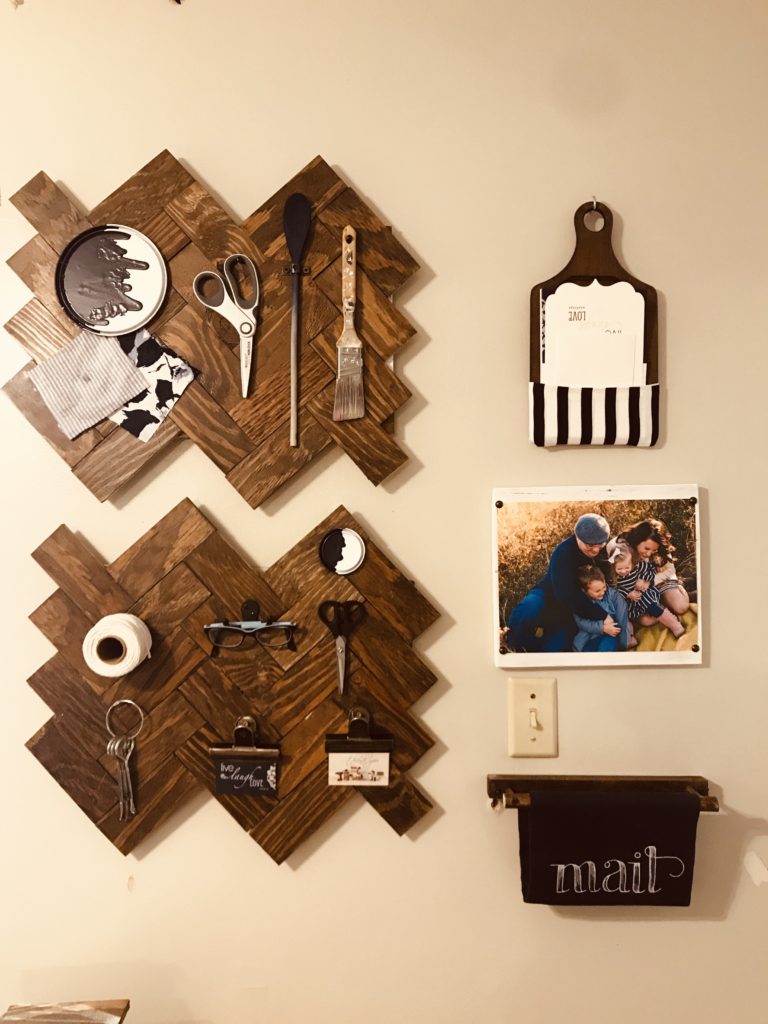
Cards! I want to be better at the thank you, thinking of you, your are the best, thanks for saving my butt cards! My clients deserve this, my colleagues deserve it too! Plus a visual cue for reordering is a bonus! Now what do I have for this?? A cutting board + fabric= perfect!
Took an old cutting board we never used, stained & sealed it. Folded some fabric and secured it to the back. Install a utility hook in the wall- and
Ta-Da!
Now for the mail. My business mail is always piled in the everyday mailbox of my family. I need open house invites, client contracts, thank you notes, etc. to come directly to me, and a place to keep track of it all. Now a simple rack would be fine, but we are trying to keep some sanity in this house and discover new things! I had seen a fabric sling made for children’s books, why not a sling for mail!
I took out some scrap wooden dowels, a small scrap piece of wood, drilled, glued, and had the frame. Now for the fabric! I can saw, paint, construct, but NO SEWING for this woman. My kind mother-in-law stepped in and sewed a sleeve of fabric. I put it all together….
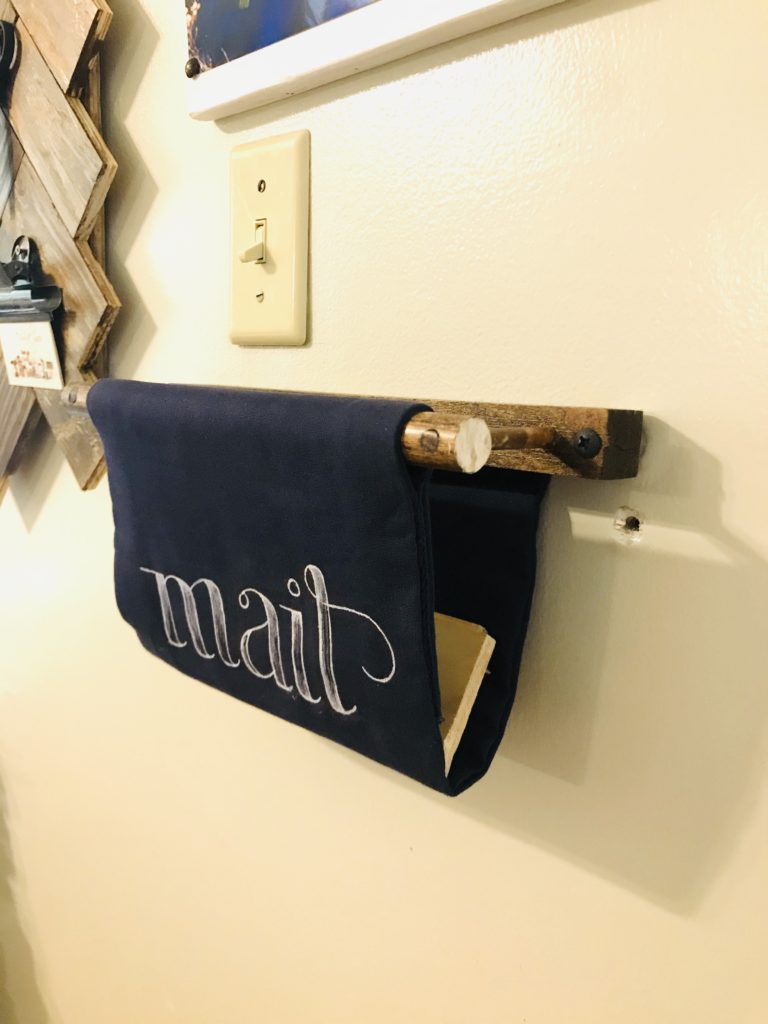
I added a fun, laughing photo of my family to remind me everyday, through every meeting, and every event, that I am doing all this for them!
So that took some time! Maybe something simpler is next:
Project #3: Paperwork!
I have stashes and stashes of calligraphy paper, linen printing paper, photo mattes, etc. that I tend to use for lettering projects. They orignally were stored on these 3 shelves taking an entire wall!
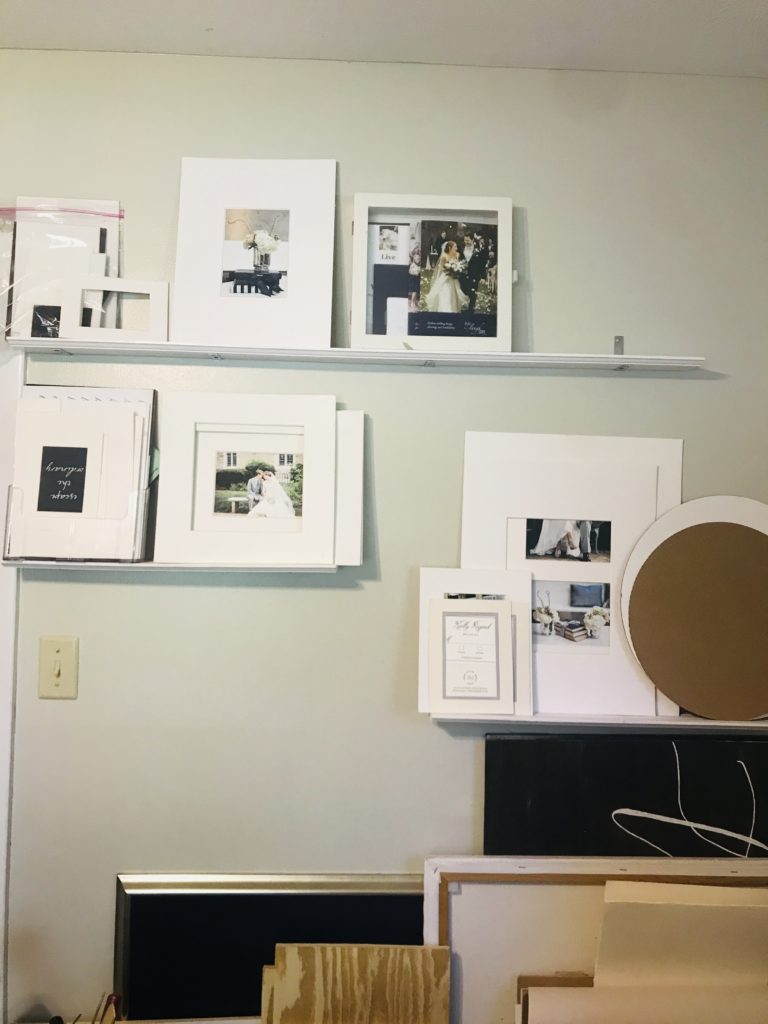
There was no organization, but they were just stashed up there. It was really a holding place for these pieces. I can do better!
I found this new idea on Pinterest using leather straps. Remember I mentioned all of my events were postponed, I’m on a budget. What was strong, and could be hold up to long term wear & tear? I noticed the cotton woven strap of my mommy purse. If you don’t know, the strongest strap in the world is on a mommy purse!
That would work ….Oh and look Hobby Lobby sells it by the yard in NAVY!!! I got 3 feet and a wooden circle. I wrapped one end around the wooden circle, and sewed. Pulled the strap tight, and wrapped the other end over the same hoop circle and sewed. In the end I had 2 navy cotton woven straps hanging from a wooden circle. I started slowly carefully sliding in the paper and mattes. It worked! The tension of the paper and the straps held everything in place. I immediately created another! Some screws in the wall and….
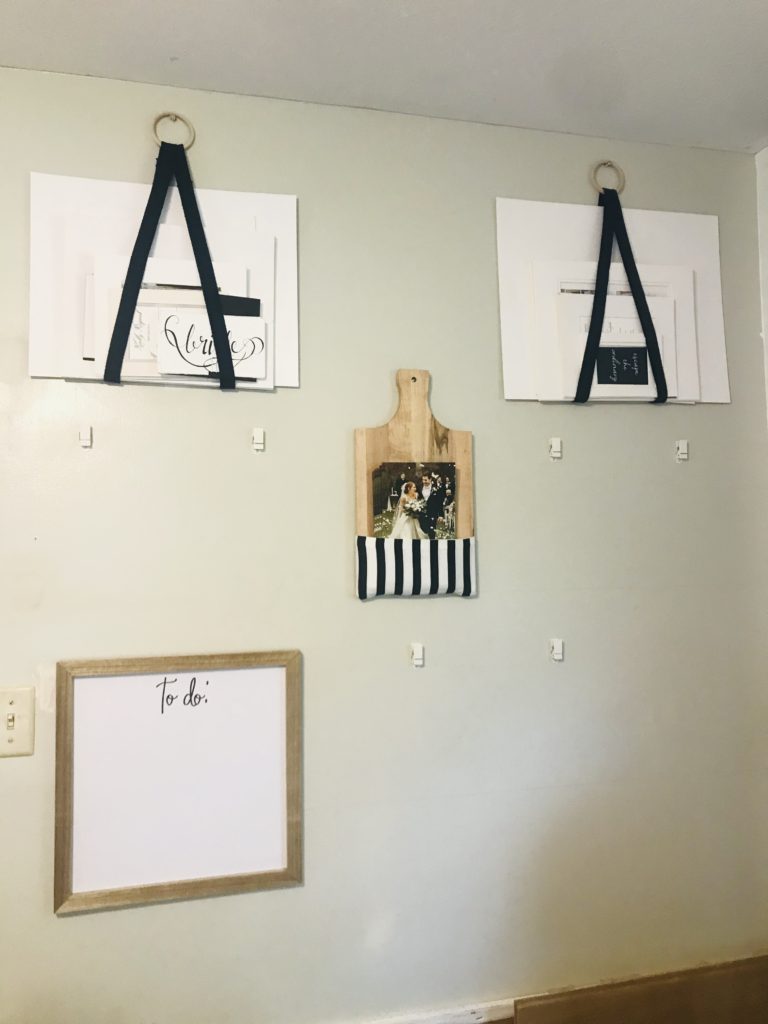
So excited to see 3 shelves worth of supplies downsized to 2 hanging pieces, and for only $7!!! Keep this momentum up!
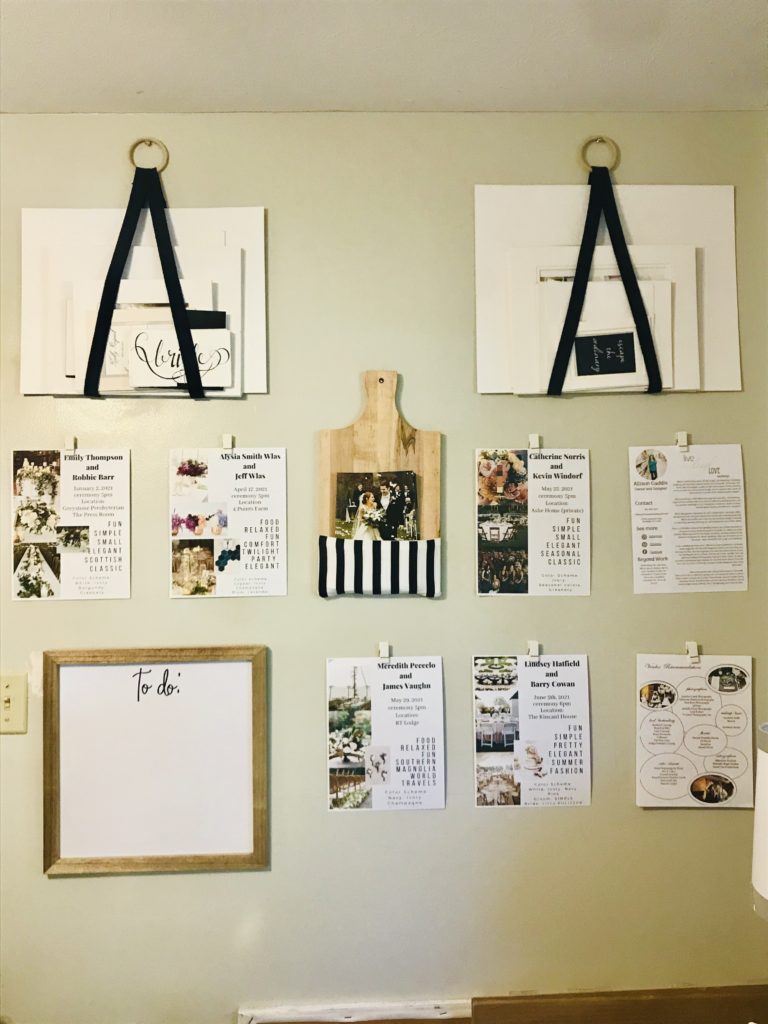
Next was client files. Now I can’t keep every piece of paper of each of my clients displayed on the wall. My wall isn’t strong enough for that! I did need to keep specific key notes on the wall for quick reference, kinda like cliff notes for my clients!
I knew I would be changing these details out, as clients hired more vendors or changed their minds. So, I used 3M command wall clips. Measured it out, and placed those on the wall, along with another cutting board made to hold brochures and topped it off with a dry erase To-Do board (thank you Target Dollar Section) Thanks to canva.com, I designed each client’s notes with photos, key words, and it made a beautiful display!
Project #4: Storage!
This was going to be big. This project was going to take some time. I needed to get this mess simplified & streamlined…

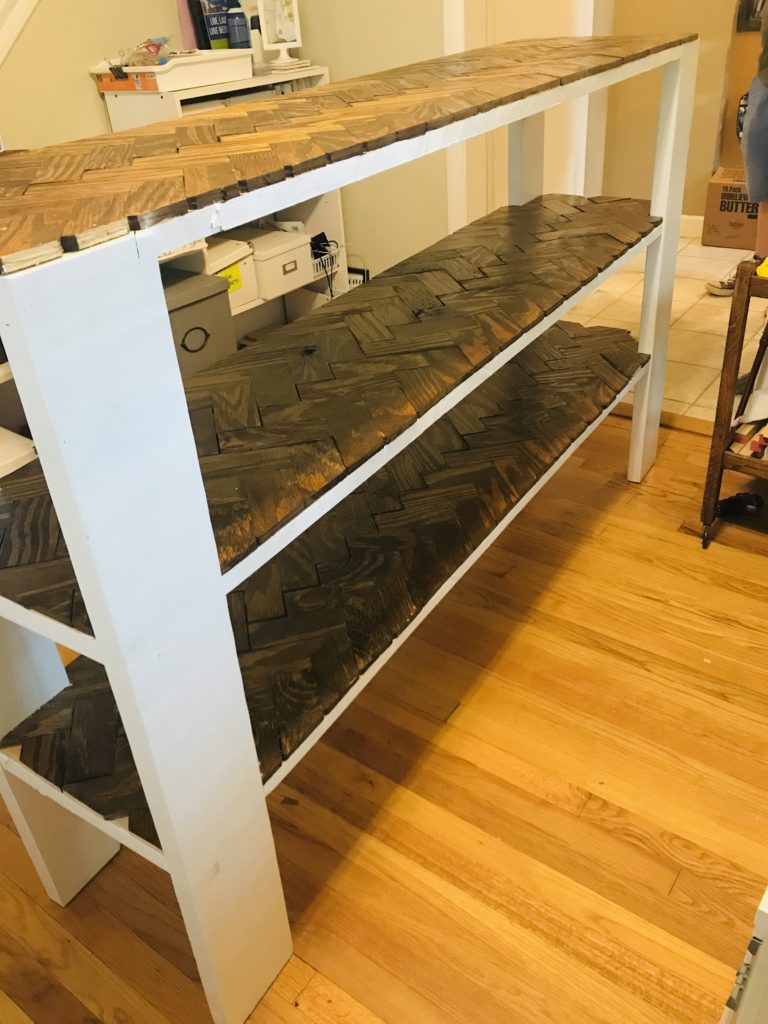
It was just simple-I had to build my own storage shelving unit. So I took some measurements,
6 ft. long-how long the wall is it was going against
42″ height because I didn’t want it too tall covering my home’s staircase, and I wanted to be able to reach pages off my printer without a stepstool
About 16″ deep: That was the deepest and biggest box I needed to fit on this unit.
I lined up all the storage boxes, file boxes, office supplies, client files, everything to know what height each shelf needed to be. Like I said, I am determined to make everything look exactly like what’s in my mind.
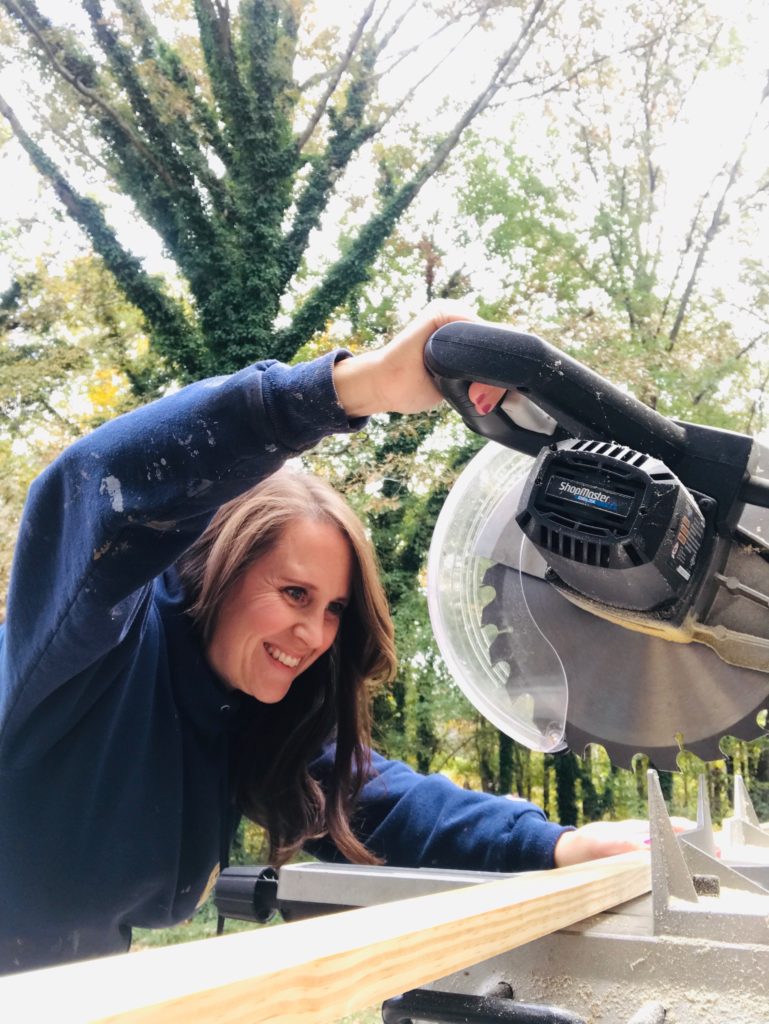
Then my lovely scientific minded husband came up with a plan of how to build it using lumber I already had on hand! Perfect! We started with those good ole herringbone wood pieces (yes, I had more than enough!)
Lined them up, and secured them to support/brace boards. We trimmed off the staggered edges with a circular saw, painted the legs white, and attached the shelving! Did I mention it was a long project? It seems so short and sweet but it wasn’t.
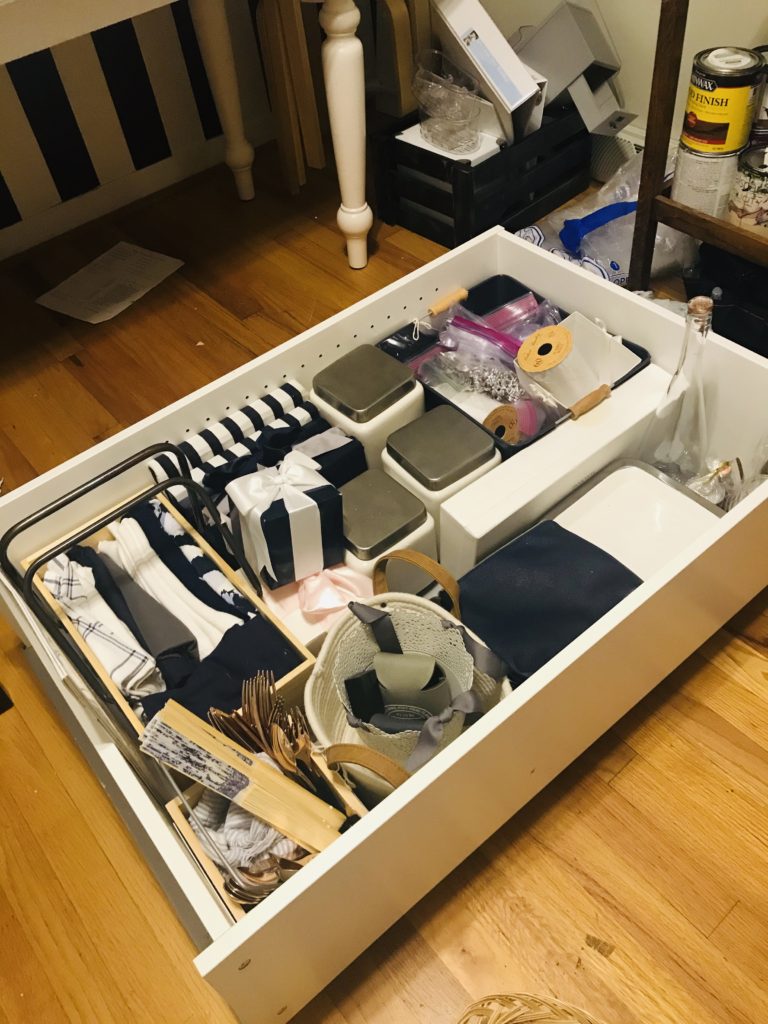
Once it was built I had to organize and style. I cleaned out every single box (@TheHome Edit would be proud).
Edited down every single thing. Then reorganized every box to make sense and have a purpose. Then I took my time selecting where each box would be stored.
One day at 1pm I thought it was perfect. Then another day at 11am I reorganized and thought that was perfect. Then another day at 2pm, I reorganized thought that was perfect-yes it was perfect! Finally my eye was pleased therefore my brain was pleased.
I tried out the placement of everything for about 2 weeks. It worked! It worked and looked beautiful. I printed my labels stuck them on every box, sat back and admired my hard work!
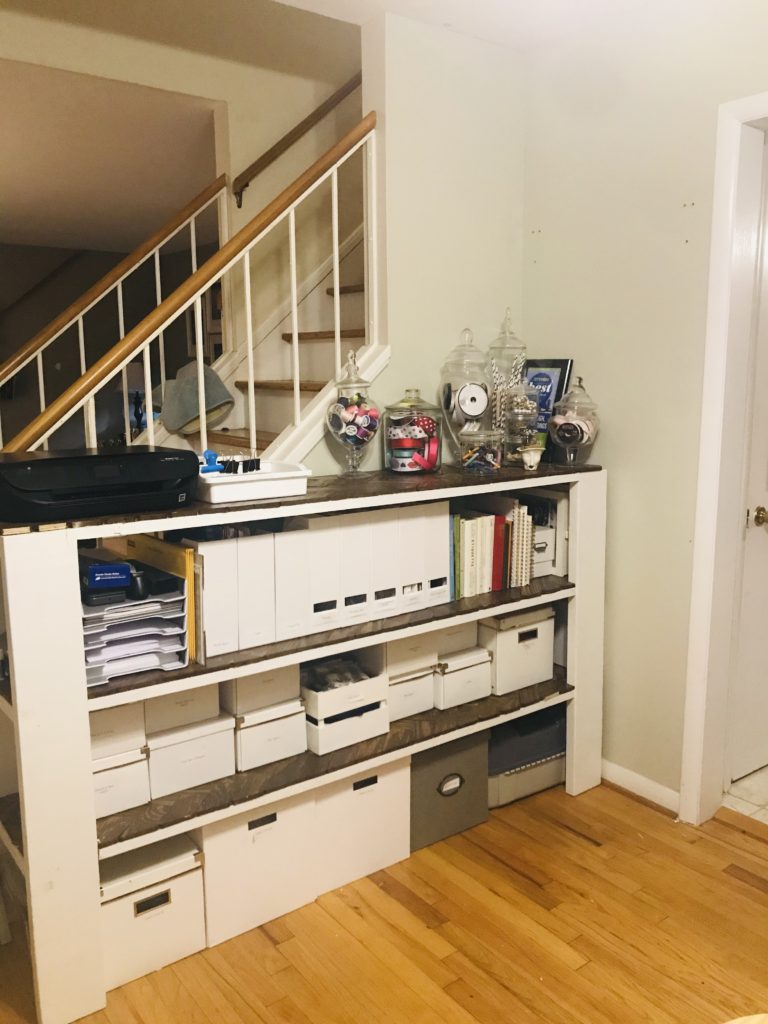
The office came together just like I wanted and within an amazing budget (alot of items I had on hand and it only cost me $40)
It was beautiful, simple, and functional. My table space was finally cleared for the first time in months, every piece had a place, and I was content.
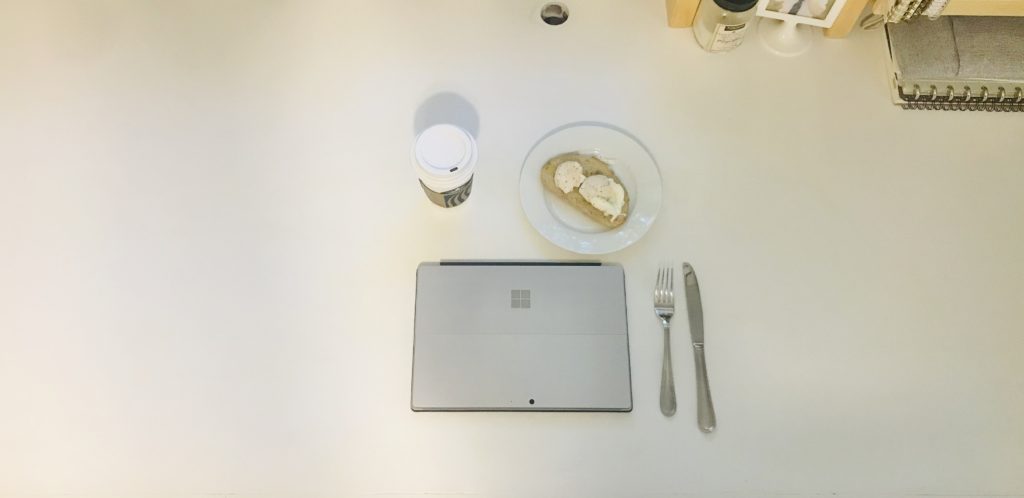
So what did I do? I started designing my new projects….here’s a sneak peek but more coming later!