Go to Top

Tag Archives

Tag Archives: Wedding planning

Create & Covid

Raise your hand if you are ready for life after Covid-19?

This pandemic has taken its toll on this heavily extrovert woman. My events have been postponed for the year, far less meetings, not seeing colleagues & clients on any regular basis. My world has been downsized. To say the least, I am ready to break out of this life! I am a creative, eager, impatient, have to have every detail as it is in my head kind of person. For my family’s and mine own saving grace…

Power Tools + Creatvity = this mom’s sanity.
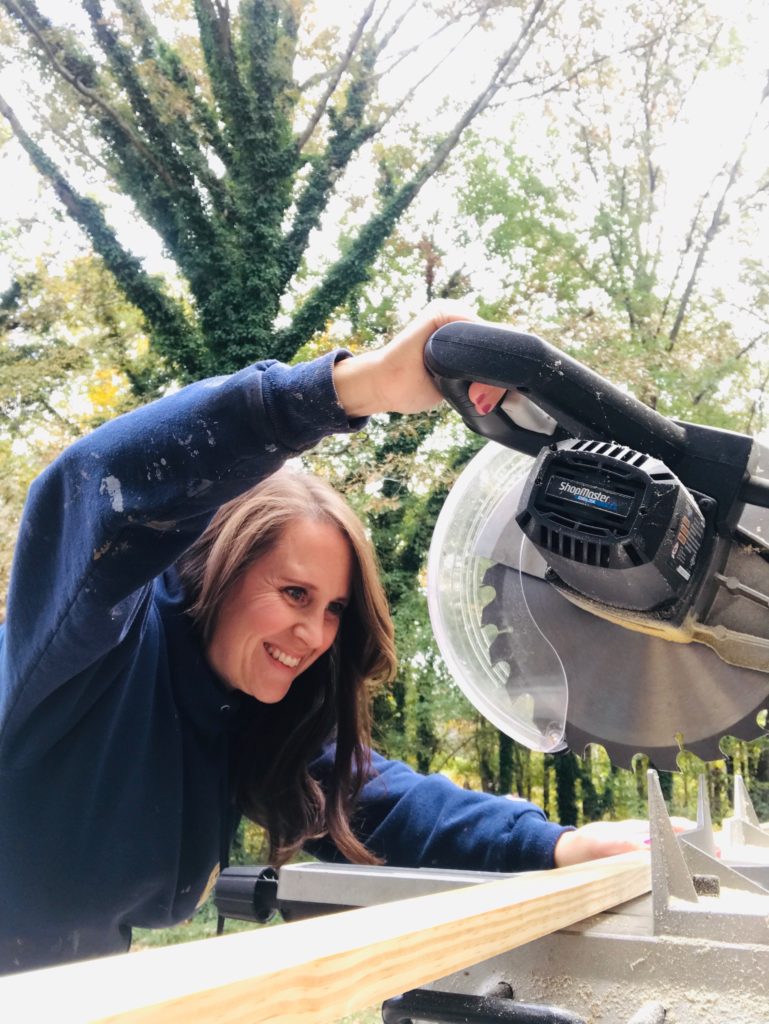
My office took an organizational turn, when my son decided he needed a desk under his new loft bed. “

Sure, honey, you can take mom’s desk that is only used for storage!”

So my office became stacks of storage boxes, stacks of client folders, baskets filled with random cords, and usb drives. This is not helping my covid-19 sanity problem! To top it off , children were constantly stealing my grand pair of scissors (we all have THAT pair), my stapler, and my roll of tape. THAT’S IT-MAKEOVER TIME!

So I looked around, and started with a list of what I needed in plain sight everyday:

  1. Essential Working Tools; Paintbrush, can openers, business cards, reading glasses, cotton twine, essential scissors, and small ribbon scissors.
  2. Basic details for each of my clients: Names, Dates, locations, descriptive words, inspirational photos, list of vendors.
  3. Simplistic storage: Storage boxes, calligraphy paper, office supplies, full client folders, branding & styling items, books, etc.

I am a visual person. If it doesn’t please the eye, it doesn’t please the brain. So not only does my office need to be functional, but also, an environment I feel inspired by. I started my research…PINTEREST!

Yes, I am a creative that still searched for hours on Pinterest. I needed an idea, of where to start. My office is the size of a nice closet, and I have alot which has to fit. Every inch was needed for storage. Most obvious was under my work table. This space had become a dumping ground for everything in my work life: extra tiles, extra wood, cake stands (stacked 5 high), tool boxes, folded fabric, and no real order.

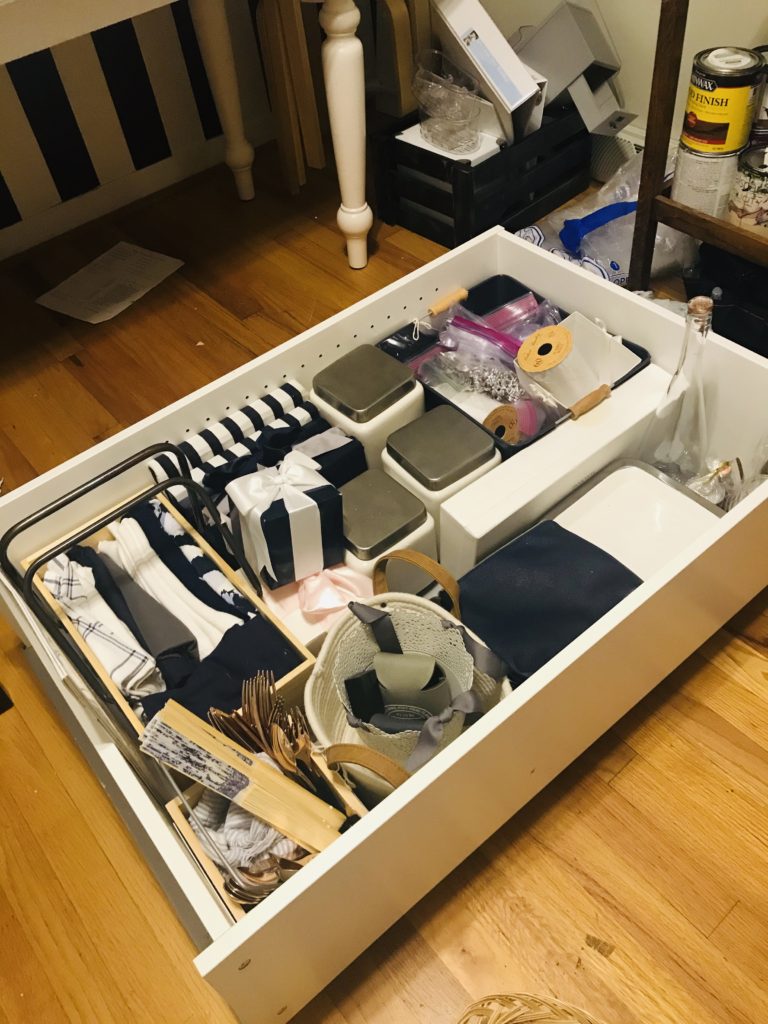
Project #1: 3 shelf bookcase into rolling storage. Yep, its that simple! I purchased a 3 shelf bookcase from Target, flipped it on its back, attached caster wheels, and took all the shelves out (I’m sure I’ll use them for later).

In went the things I always need for branding. Fabric in my brand colors (navy, lots and lots of NAVY!). Wedding favor examples, back up cake cutting set, sparkler bin, gift card baskets, fake gift boxes, styled out pattern plates & utensils. These are items that whether I go to a styled shoot, a bridal expo, or an open house, I have these items ready to be on display for my brand.
Wow that felt good, let’s tackle something more difficult.

Project #2: A Command Center.

Most families have a wall where a calendar with schedules, places for reminders, bills, coupons, grocery lists are kept. Its what I call a visual brain on the wall. I needed something with the same purpose, but different. I needed a command center for my everyday, important items.

Huh, I still have those wood pieces from that wedding…..

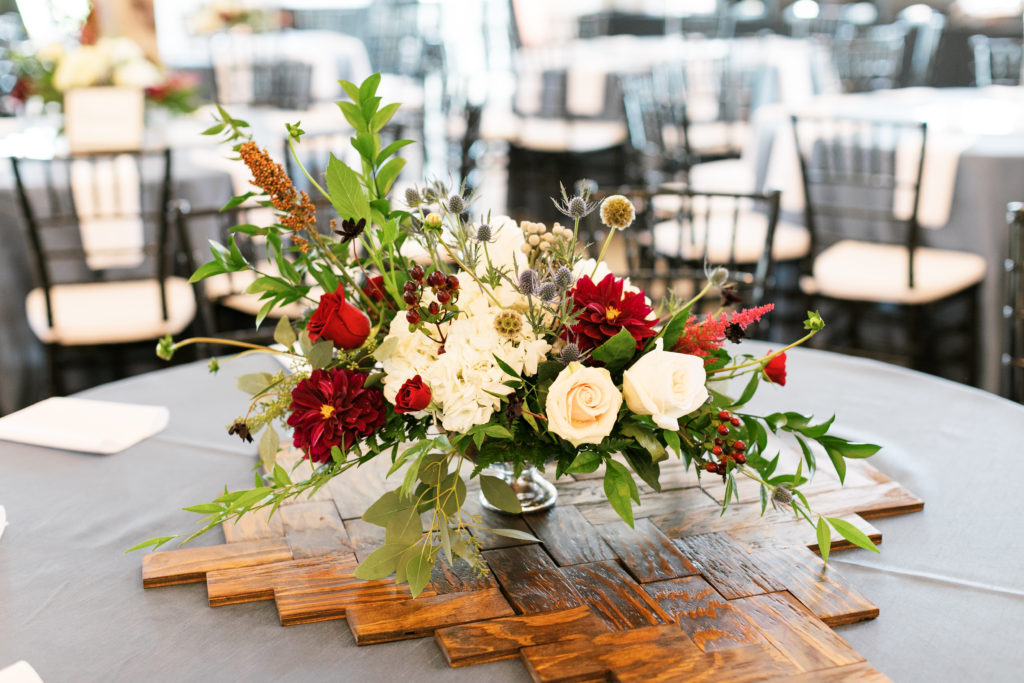
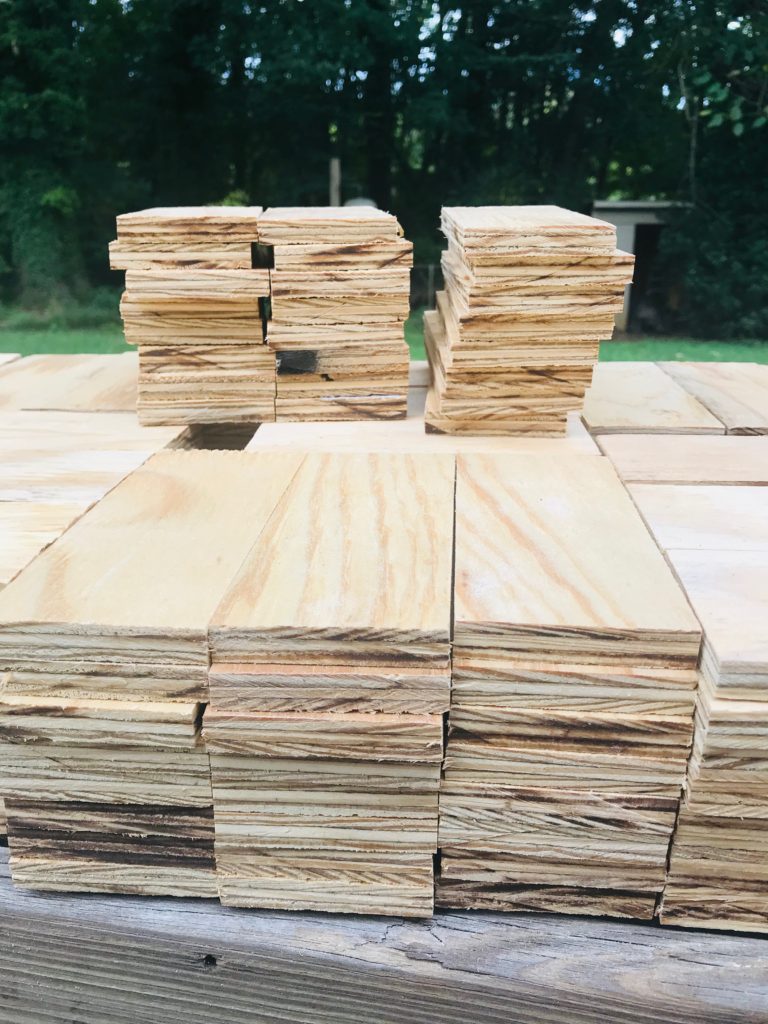
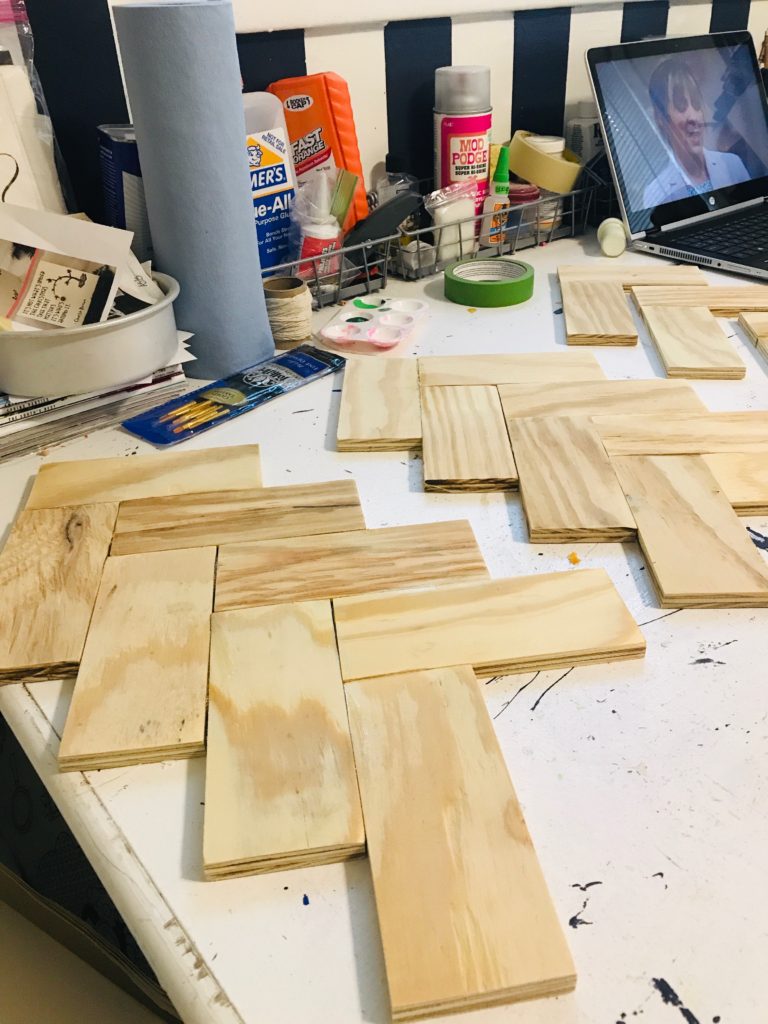
I have had this pile of herringbone wood pieces in my office for almost 2 years. I created them from 700 2″ x 6″ plywood pieces for wedding table decor. After the wedding, the bride didn’t have a use for them, so I gladly took these babies home. I knew I could use them in the future, so under my desk they went and sat, and sat, and gathered some dust, now they have seen the sun!
Finch Photo- http://finchphoto.com/

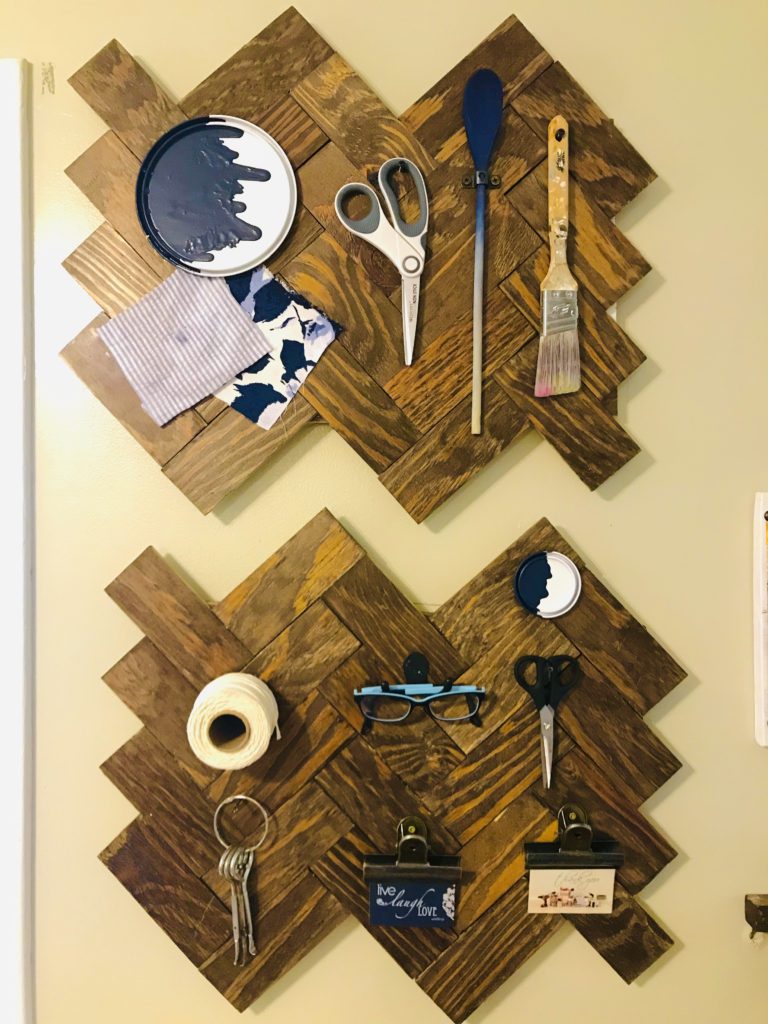
So here I go…. Measure the space, start arranging and gluing wood pieces together, Then layout the tools I need and look for the most important items…

  1. The scissors,
  2. Ribbon/Detail scissors
  3. Cotton Twine
  4. Paint & Stain Can openers
  5. Business Cards
  6. Paint brush
  7. Staining brush
  8. Mixing spoon
  9. Reading Glasses

Once my wood herringbone pieces were glued together, I was arranging & placing items. I wanted it to look like a collection of my brand, so I added some dipped paint lids I had extra, and scrap pieces of fabric. Every item had a place, I could find these items easily everyday, I could see if my kids had taken them, and It looked like I was ready to work every moment of the day.

I drilled some neutral screws 1/2 the depth of the wood pieces, and started hanging my items. Bought some vintage clips from Hobby Lobby for my business cards ( I need to find them, but need to refill my pocket stash regularly). Perfect!
Now, what else do I need to remember, or keep track up everyday?

Cards! I want to be better at the thank you, thinking of you, your are the best, thanks for saving my butt cards! My clients deserve this, my colleagues deserve it too! Plus a visual cue for reordering is a bonus! Now what do I have for this?? A cutting board + fabric= perfect!

Took an old cutting board we never used, stained & sealed it. Folded some fabric and secured it to the back. Install a utility hook in the wall- and

Ta-Da!

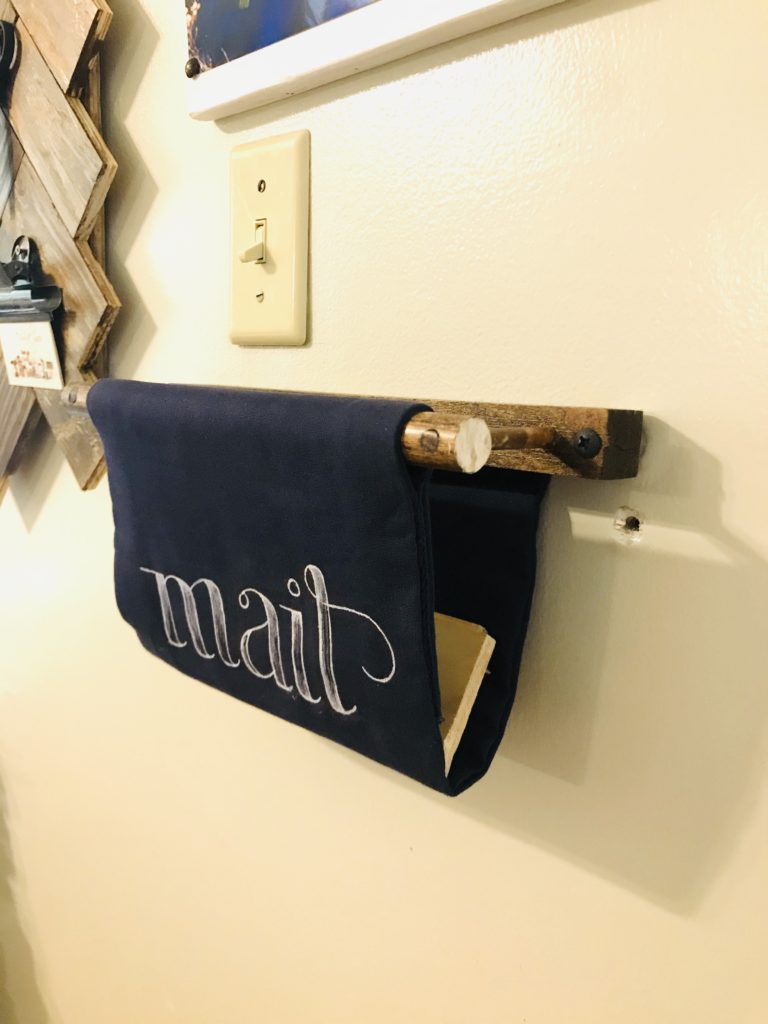
Now for the mail. My business mail is always piled in the everyday mailbox of my family. I need open house invites, client contracts, thank you notes, etc. to come directly to me, and a place to keep track of it all. Now a simple rack would be fine, but we are trying to keep some sanity in this house and discover new things! I had seen a fabric sling made for children’s books, why not a sling for mail!

I took out some scrap wooden dowels, a small scrap piece of wood, drilled, glued, and had the frame. Now for the fabric! I can saw, paint, construct, but NO SEWING for this woman. My kind mother-in-law stepped in and sewed a sleeve of fabric. I put it all together….
I added a fun, laughing photo of my family to remind me everyday, through every meeting, and every event, that I am doing all this for them!
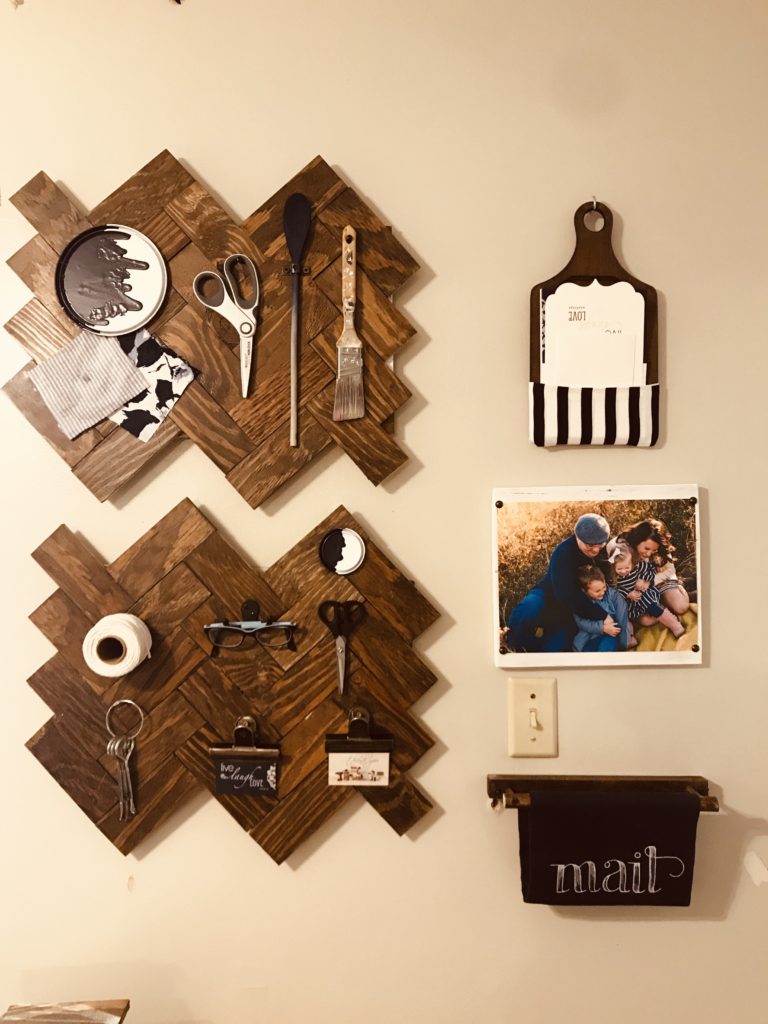
So that took some time! Maybe something simpler is next:

Project #3: Paperwork!

I have stashes and stashes of calligraphy paper, linen printing paper, photo mattes, etc. that I tend to use for lettering projects. They orignally were stored on these 3 shelves taking an entire wall!
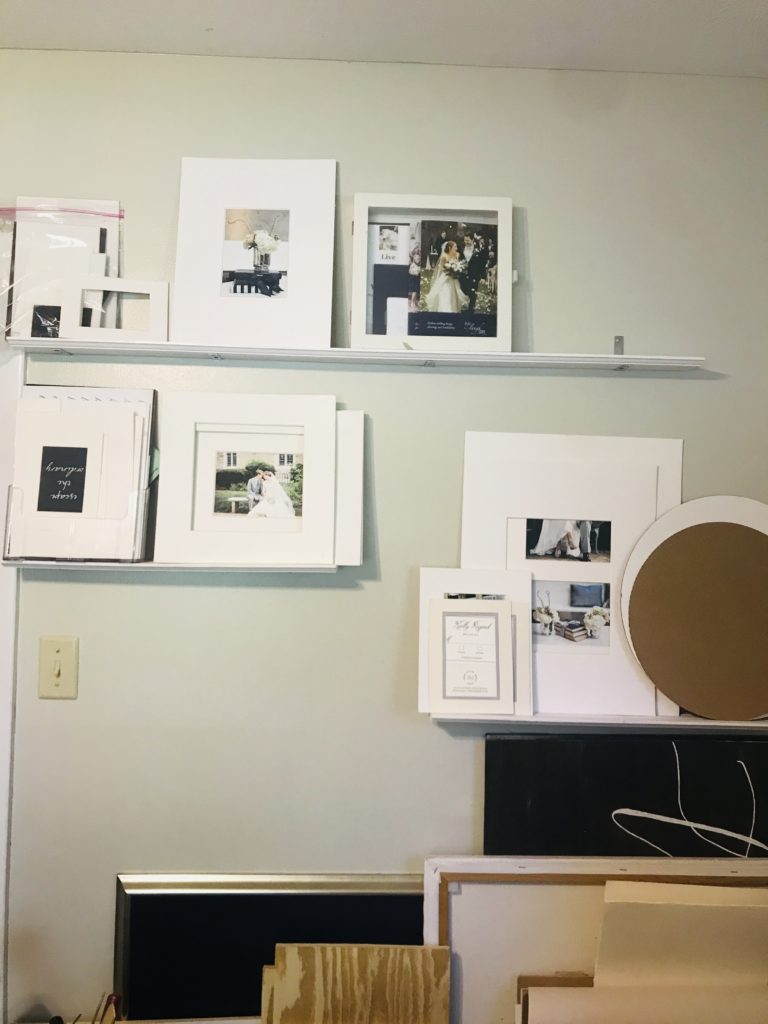
There was no organization, but they were just stashed up there. It was really a holding place for these pieces. I can do better!

I found this new idea on Pinterest using leather straps. Remember I mentioned all of my events were postponed, I’m on a budget. What was strong, and could be hold up to long term wear & tear? I noticed the cotton woven strap of my mommy purse. If you don’t know, the strongest strap in the world is on a mommy purse!

That would work ….Oh and look Hobby Lobby sells it by the yard in NAVY!!! I got 3 feet and a wooden circle. I wrapped one end around the wooden circle, and sewed. Pulled the strap tight, and wrapped the other end over the same hoop circle and sewed. In the end I had 2 navy cotton woven straps hanging from a wooden circle. I started slowly carefully sliding in the paper and mattes. It worked! The tension of the paper and the straps held everything in place. I immediately created another! Some screws in the wall and….
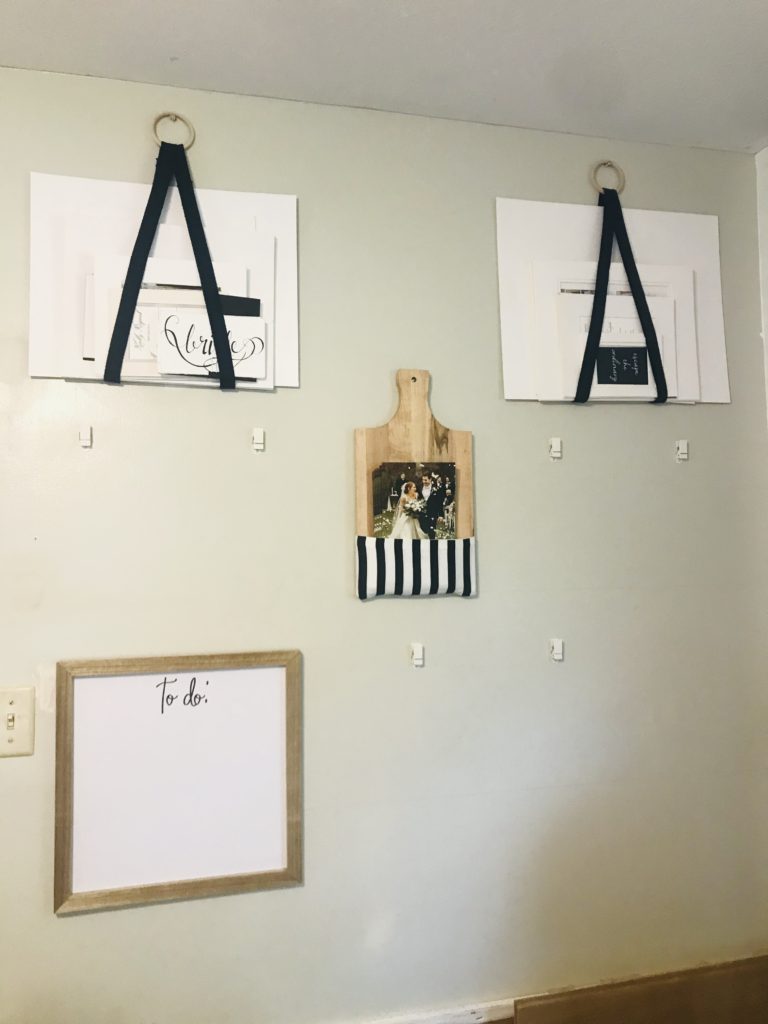
3 shelves downsized to 2 hanging storage pieces

So excited to see 3 shelves worth of supplies downsized to 2 hanging pieces, and for only $7!!! Keep this momentum up!

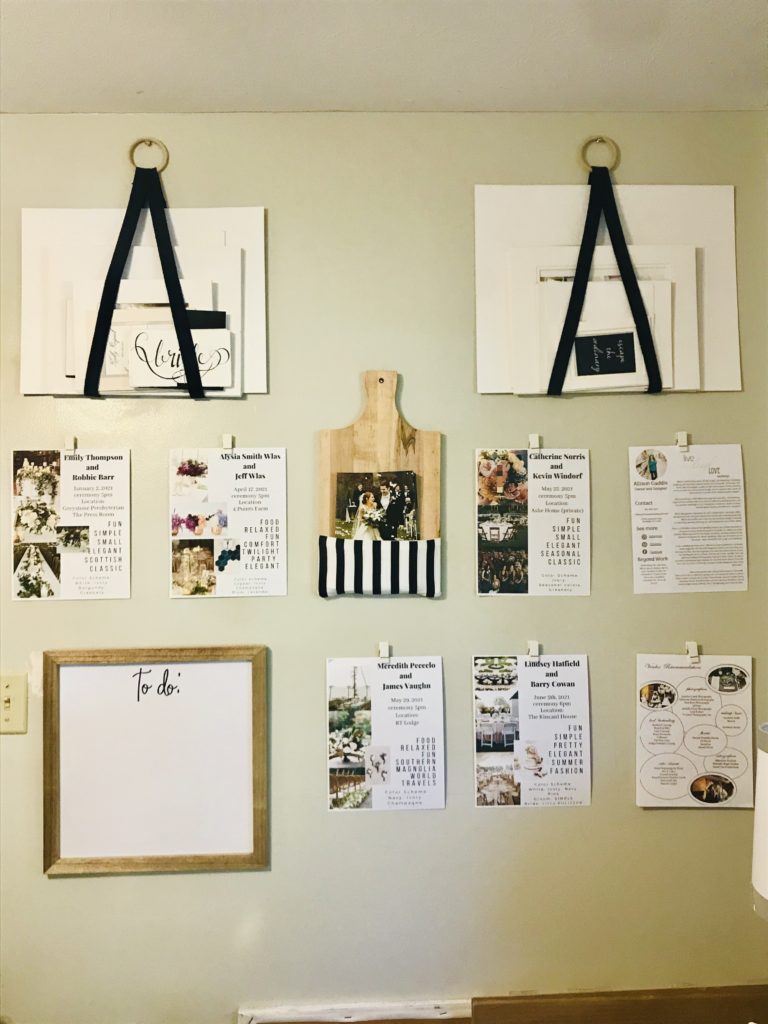
Next was client files. Now I can’t keep every piece of paper of each of my clients displayed on the wall. My wall isn’t strong enough for that! I did need to keep specific key notes on the wall for quick reference, kinda like cliff notes for my clients!

I knew I would be changing these details out, as clients hired more vendors or changed their minds. So, I used 3M command wall clips. Measured it out, and placed those on the wall, along with another cutting board made to hold brochures and topped it off with a dry erase To-Do board (thank you Target Dollar Section) Thanks to canva.com, I designed each client’s notes with photos, key words, and it made a beautiful display!
Project #4: Storage!

This was going to be big. This project was going to take some time. I needed to get this mess simplified & streamlined…
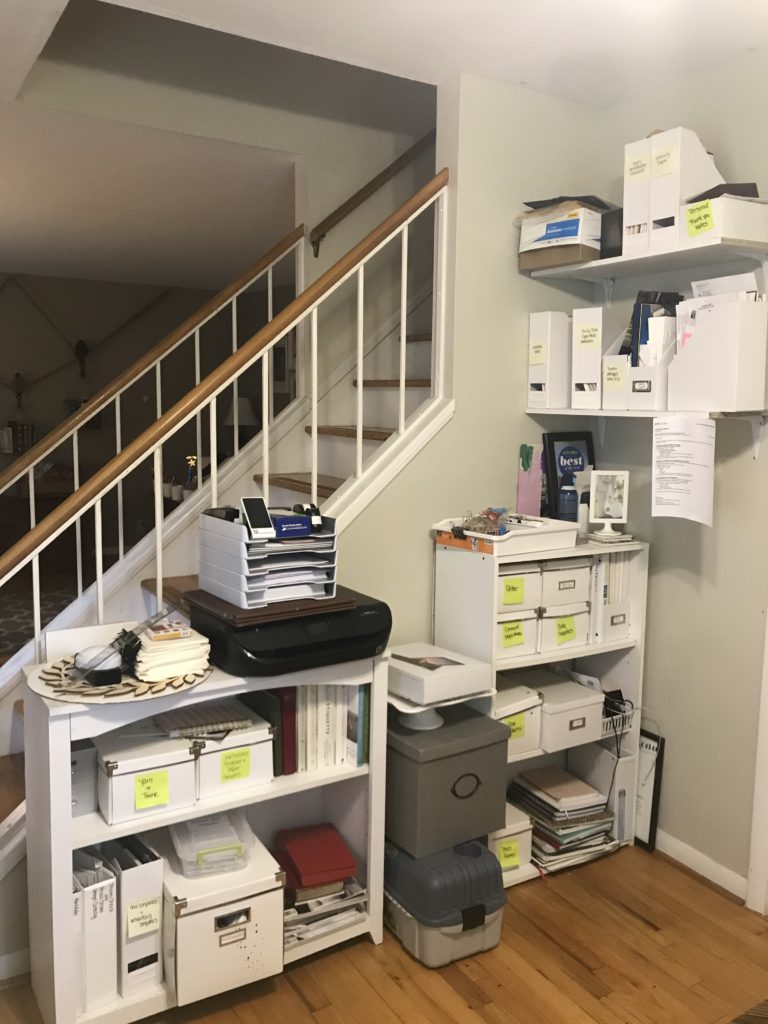
It was just simple-I had to build my own storage shelving unit. So I took some measurements,

6 ft. long-how long the wall is it was going against

42″ height because I didn’t want it too tall covering my home’s staircase, and I wanted to be able to reach pages off my printer without a stepstool

About 16″ deep: That was the deepest and biggest box I needed to fit on this unit.

I lined up all the storage boxes, file boxes, office supplies, client files, everything to know what height each shelf needed to be. Like I said, I am determined to make everything look exactly like what’s in my mind.

Then my lovely scientific minded husband came up with a plan of how to build it using lumber I already had on hand! Perfect! We started with those good ole herringbone wood pieces (yes, I had more than enough!)
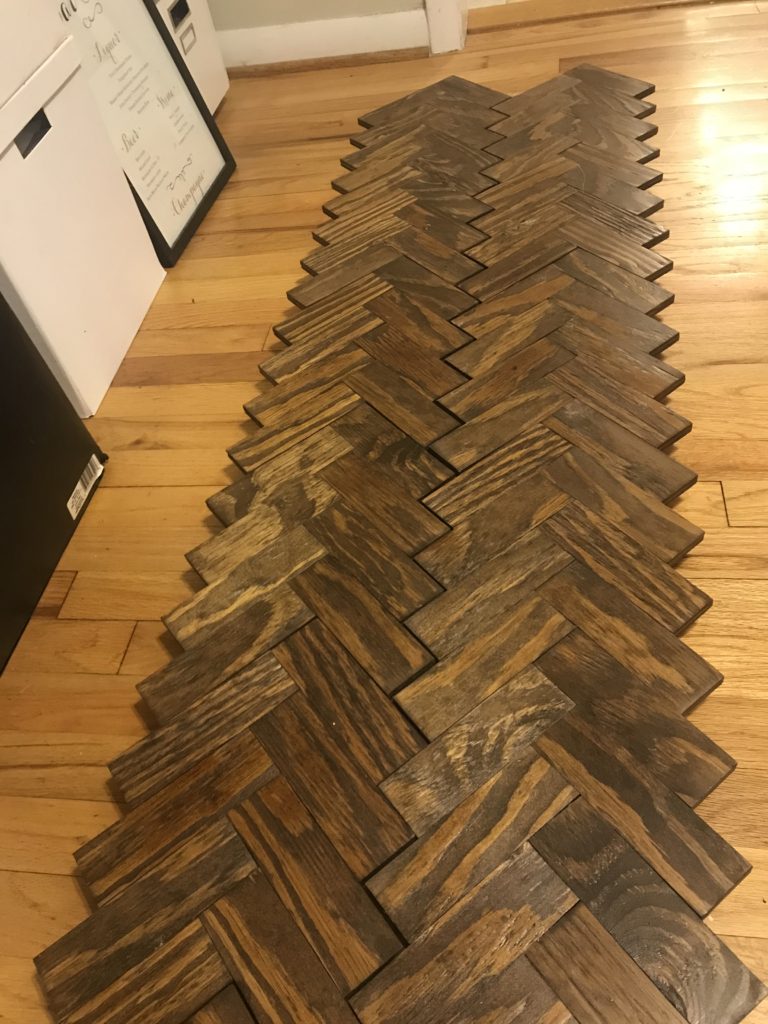
Lined them up, and secured them to support/brace boards. We trimmed off the staggered edges with a circular saw, painted the legs white, and attached the shelving! Did I mention it was a long project? It seems so short and sweet but it wasn’t.
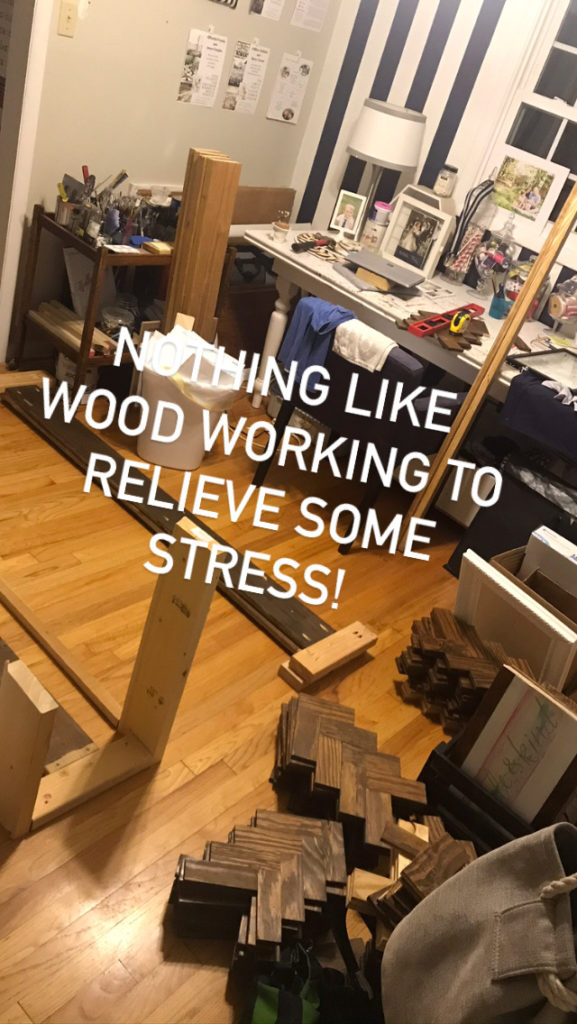
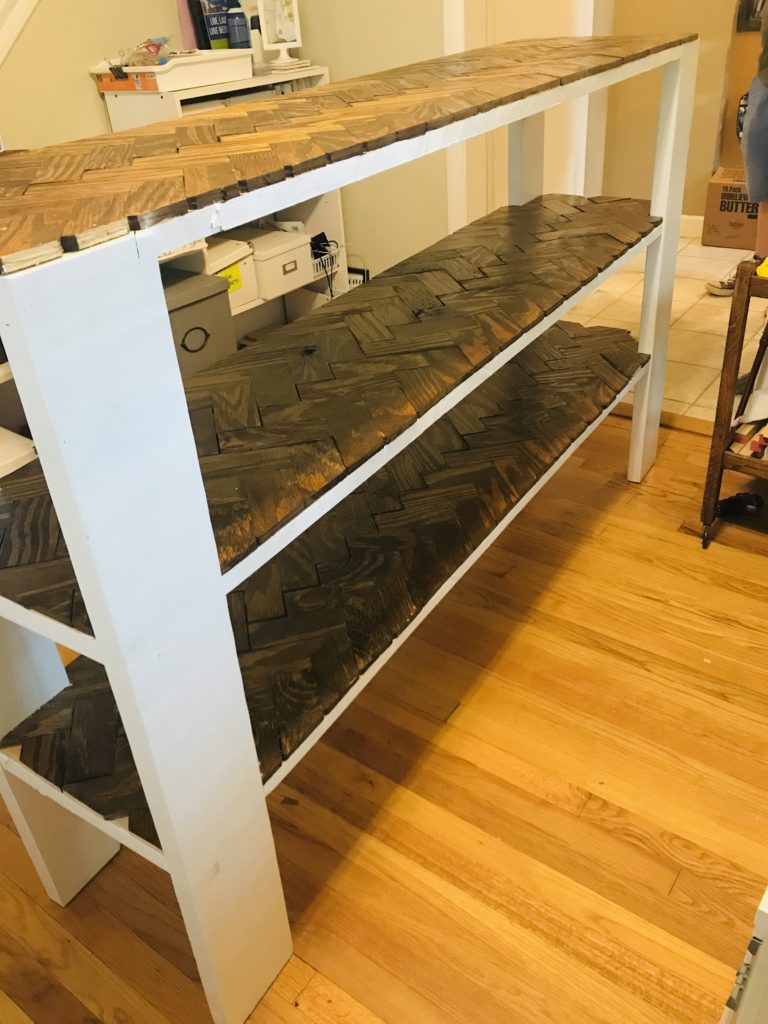
Once it was built I had to organize and style. I cleaned out every single box (@TheHome Edit would be proud).

Edited down every single thing. Then reorganized every box to make sense and have a purpose. Then I took my time selecting where each box would be stored.

One day at 1pm I thought it was perfect. Then another day at 11am I reorganized and thought that was perfect. Then another day at 2pm, I reorganized thought that was perfect-yes it was perfect! Finally my eye was pleased therefore my brain was pleased.

I tried out the placement of everything for about 2 weeks. It worked! It worked and looked beautiful. I printed my labels stuck them on every box, sat back and admired my hard work!
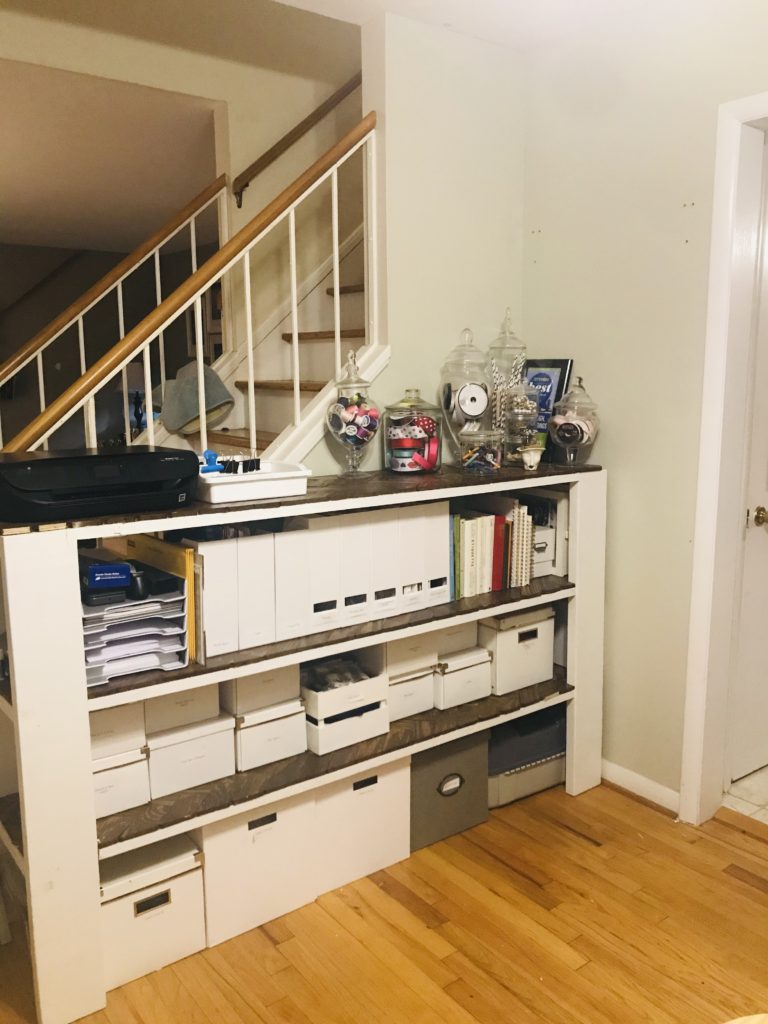
The office came together just like I wanted and within an amazing budget (alot of items I had on hand and it only cost me $40)

It was beautiful, simple, and functional. My table space was finally cleared for the first time in months, every piece had a place, and I was content.
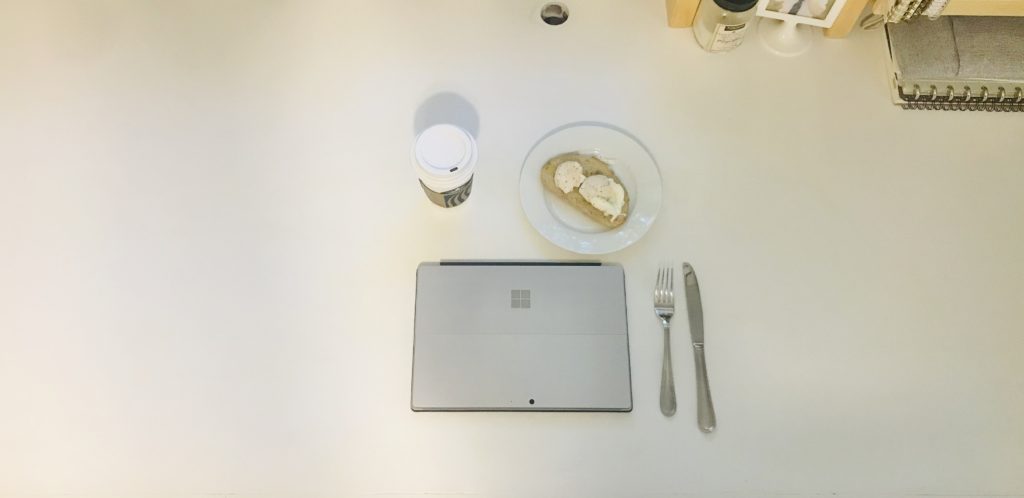
So what did I do? I started designing my new projects….here’s a sneak peek but more coming later!

What I learned in 2019 and what 2020 holds…

How much I loved 2019…

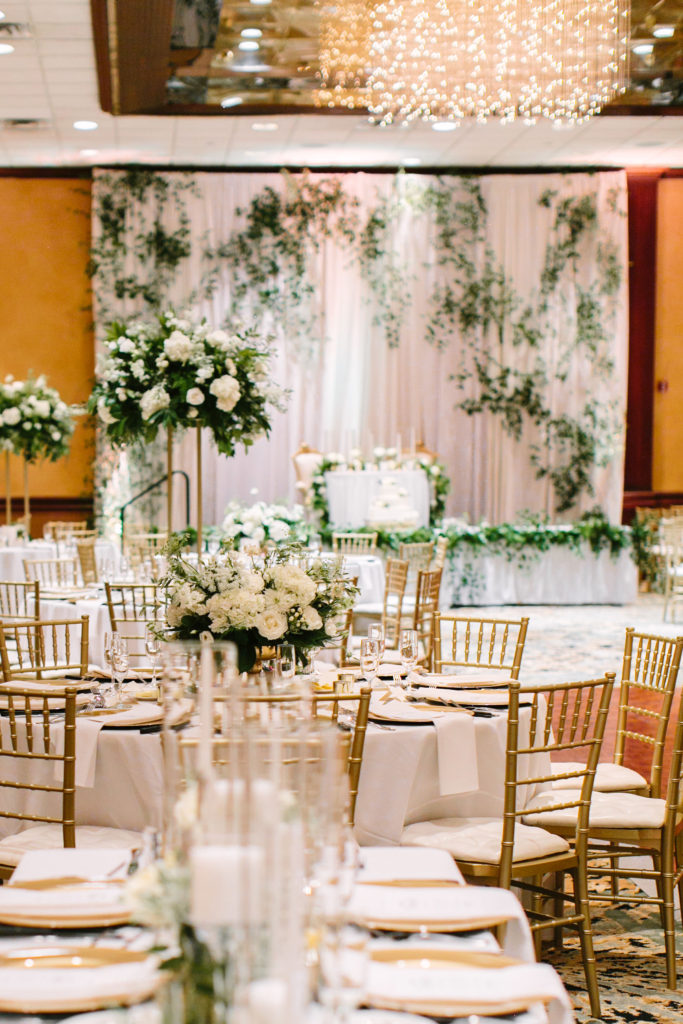
2019 was one of the highlights of my career. I adored every wedding we had, and we had some that challenged every part of my being and my team; and lots that gave us so much joy! Let’s focus on the highlights of planning, designing, and coordinating every wedding we had this year. Its a big accomplishment to me, because I truly love designing a wedding. I adore taking my clients wants, styles, and personality; and turning into a visually stunning gift on their wedding day. Part of my design aesthetic is incorporating materials beyond tablecloths, flowers, and food. I love creating and building wood aspects, tile table tops, and more. If you have viewed me on Instagram you know I love a Lowe’s trip! 2019 let me run free with my designs. My custom designs went from small to super sized last year, and I can’t tell you how much wood I used. For a few weddings I got very lucky with a father of the bride and a groom willing to construct my crazy ideas! My team thought a few times I had lost my mind, but when it was all set-up it was worth it. Thank you to all my 2019 client who let me do what I do best, and trust me with their wedding designs.

Photography by Suzy Collins
Flowers by Sassafras
Chairs and Rentals by Luma Designs

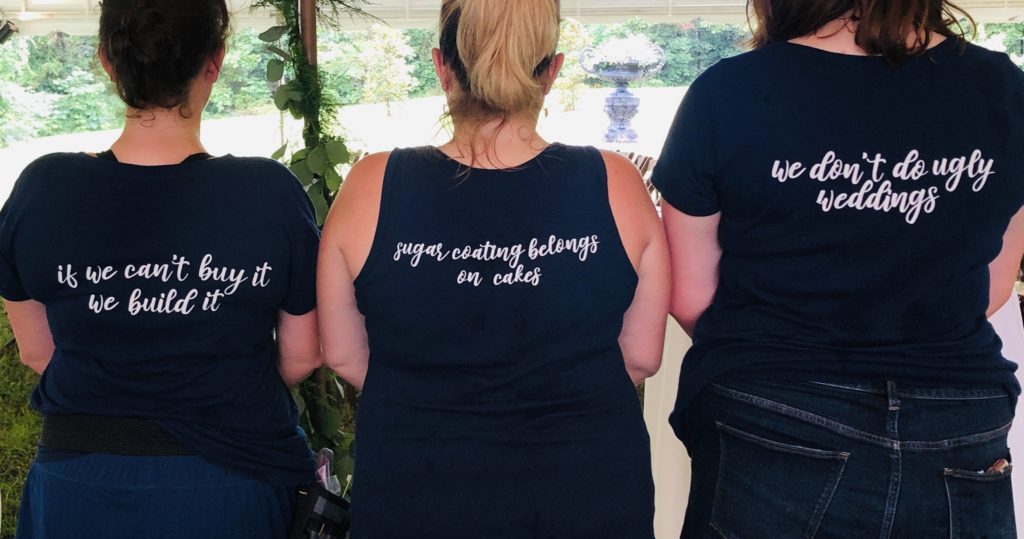
One significant lesson I learned in 2019 was how valuable a wedding team is; not just a now and again helper, but a team. I now have hired 3 girls (Sarah, Erin, and Teddy) who work with me regularly on wedding days, and wedding day prep. I can’t imagine doing a wedding without them. They make the behind the scenes work so much easier and allows me to focus more on moments with my clients. They have taught me the proper and effective way to prep for a wedding day (don’t do it by yourself); and have forced me to get even more organized in the office. I love that my fellow vendors have come to love the girls and consider them part of every wedding.

Our 3 basic rules:
1. We don’t do ugly weddings
2. Sugar coating belongs on cakes
3. if we can’t buy it we build it

What 2020 holds…

My 2020 year gives me hope for more amazing adventures for Live Laugh Love Weddings. Of course Me and the team will be creating amazing weddings, and working with wonderful clients. You will see our work at some of our favorite venues: Kincaid House, Dara’s Garden, RT Lodge, as well as some private homes. I hope to continue working with Marblegate Farms, Mill & Mine; Cherokee Country Club, Holston Hills Country Club, Church Street United Methodist Church and more as well. I know we will cherish all the vendor relationships we have with caterers, photographers, florists, rentals, and everyone who puts their heart and sweat into our clients’ events. We also hope to offer more to more clients and vendors.

Photography by Traci Ancelet

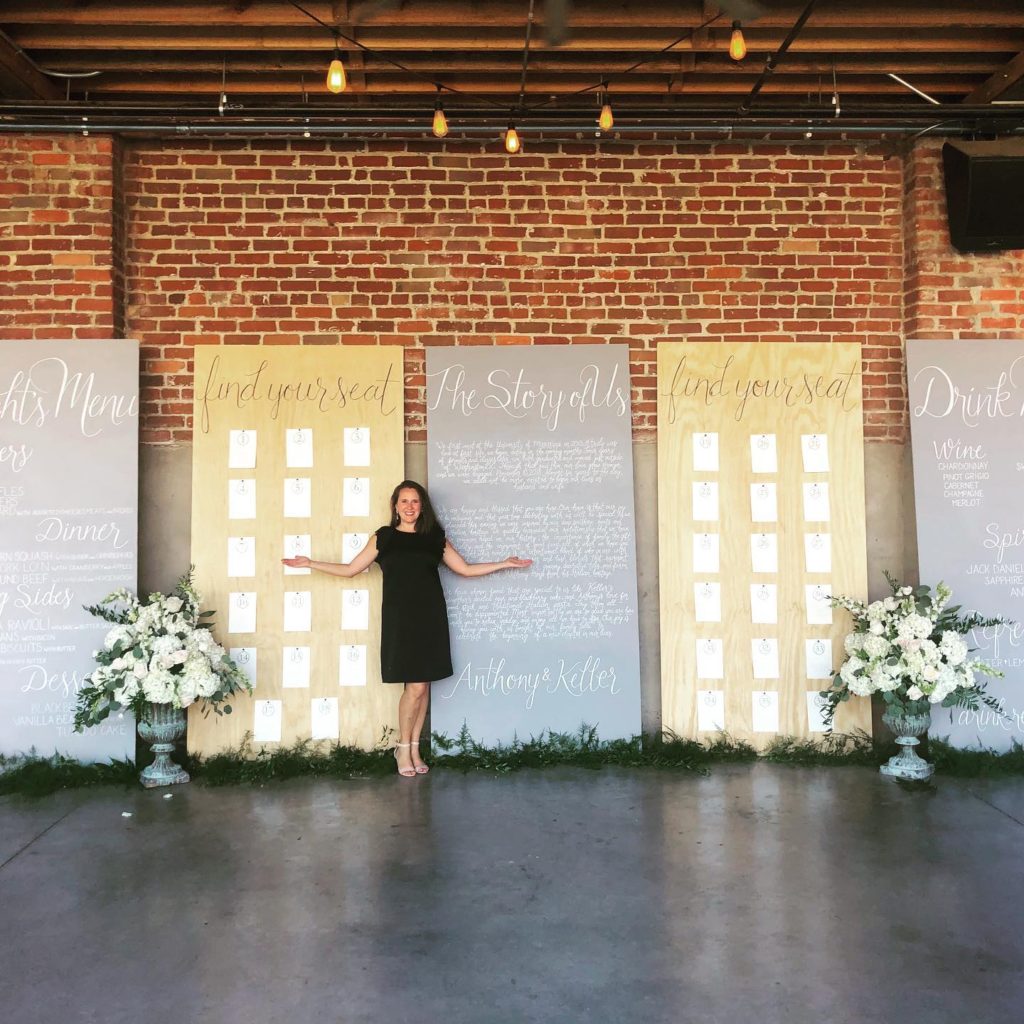
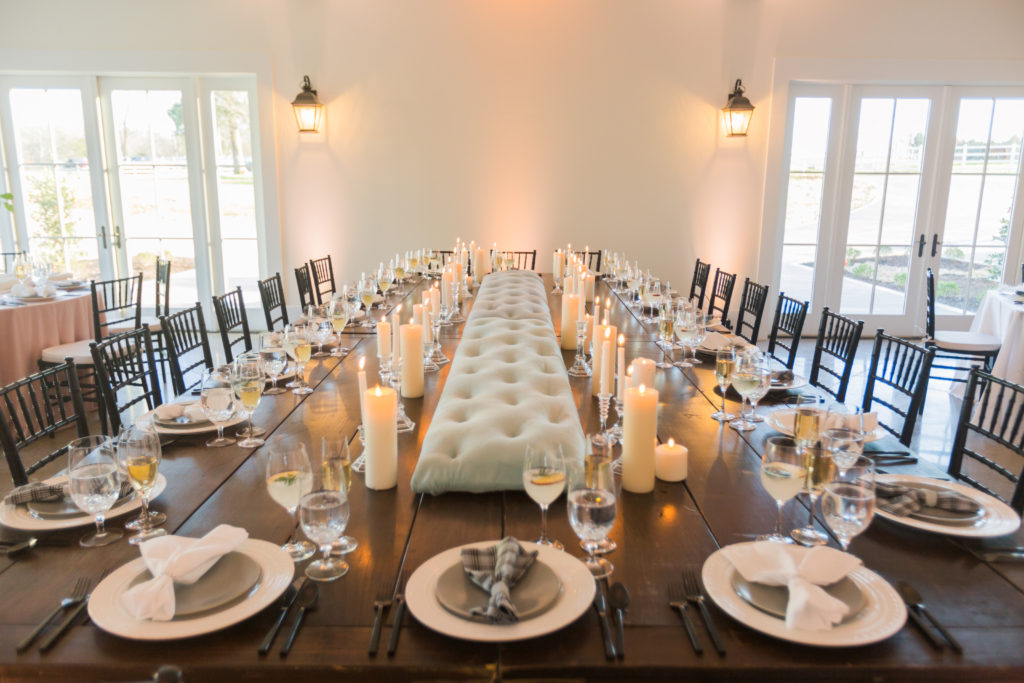
Now there is Lefty Designs. I have found a love for custom creations, including signs, table top items, and some woodwork. Lefty Designs grew from the artist side of me wanting to create ideas that aren’t mass produced, that can go on to live in my clients’ lives and homes after their wedding. I have produced tabletop planter box centerpieces, wood herringbone accents, various seating charts, Tufted fabric centerpieces (see below), tile chargers for custom designed place settings, and more! I found many clients love the custom designed and built items, and many more asking for signs. Thanks to my very good friends at The Happy Envelope and Katherine Michalik, I also discovered a love for lettering. I have even provided signs to many wedding vendors including: The Spindle Tree, Southern Belle Beauty, Marblegate Farms, and many on display at Samuel Franklin Florist. I offer custom signs for weddings, businesses, everyday home decor, and of course Christmas! I am excited to keep building this side of my business, and making weddings even more amazing! Please note Lefty Designs, like me, go big or go home. So these designs are designed to make an impact. Our lettering is not for wedding invitations. If you are interested feel free to contact me thru our current website and reference Lefty Designs.

Photography by Danielle Evans
Rentals by All Occasion Party Rentals
Location: Marblegate Farms

Happy 2020 to all, and we can’t wait to see what this year holds for us! For inquiries please visit us here, and schedule a coffee date!

*We are welcoming to all cultures, religions, and genders,

From “To-Dos” to “Ta-Das” Part 1

Recently, I’ve had several Brides ask me if there’s a specific check list for getting ready to go down the aisle. After my share of weddings these are a few “rules of thumb” that I find helps with the planning process; having a plan for the big day can help cut down on the stress, and make for a much happier bride and groom.- Allison

16-9 months before 

  • Inspiration Folder- Having a vision of what you and your fiance want for your wedding is crucial; everything else should be planned around it. Are you wanting to go with a particular theme? Have you been imagining your wedding day since you were 6 years old? Find out what you like; what color combinations say “wedding” to you. Tip: If you haven’t already, get a Pinterest account and start pinning pictures of what you want your wedding to look like. Pin pictures of wedding dress styles you like, centerpieces that you love, any decor you’d like to include. It may not be exactly like it but it will give you an idea of what you like and don’t like, and you’ll be able to show your potential vendors what you have in mind. You find vendors by going to some bridal shows; they usually occur every few months or so. If you live in the Knoxville area you can visit the 29:11 Event Planning Studio’s Bridal show event at the Knoxville Zoo on Sunday, September 30th from 2-6 p.m! 

  • Budget- Finding out a comfortable budget early is important. When deciding on your overall budget you need to decide what costs will be considered in the wedding budget, and what costs you will pay for yourself, or what family members are willing to contribute; it should include the ceremony and reception venues, photographer, wedding planner (if you wish to have one) and bridal attire. A discussion with your possible vendors needs to be brought up in the first meeting, but don’t let it rule out that vendor completely. Most are willing to work on any budget. For a full list of budget specifications please visit our Budget Basic  page.
  •  Choose your Wedding Party- Choosing who is going to be in your wedding party is almost as important and finding “the dress”. You’re going to want to have girls that you know you can count on, ones that you know will be there to celebrate with you and be supportive for you and your fiance. Include girls who you know are going to get along with. Don’t feel pressure to include his baby sister if you two don’t know each other very well; there could be other roles for her to play and still be involved in the wedding. 
  • Start compiling a guest list- Both you and your fiance need to  have an idea who you would like to invite to the wedding; start an Excel file with guests’ last names listed alphabetically and their addresses. You’ll be able to narrow this list down later.
  • Choose a date and your people- If there is a vendor  or a venue you’re absolutely crazy about you need to book them as far in advance as possible, but before you do you need to narrow down a date. Photographer can book quickly so do research to find which ones you and your fiance like the best. You also need to decide if you and your fiance wish to have a wedding planner or wedding coordinator to help with the planning process. Tip: Can’t decide if you need a wedding planner? Visit our Homepage to view our Q+A on what a wedding planner does.

8 months before 

  • Finalize a Photographer/ Videographer- Photographers are usually book appointments months in advance (or even years!) so deciding who you want to capture your wedding day should be a big priority. Once decided you and your photographer can talk budgets, packages, and to schedule  engagement or bridal portraits.
  • Find “the Dress”– If you aren’t already, try and become familiar with certain styles. Do you prefer A-line or Ball gown, or are you wanting something completely non-traditional? Gather your bridesmaids, grab some magazines, and find out what you like. Print out pictures from your Pinterest board and take them with you when you go to the Bridal salon; they may have the same dress or something similar. Once you’ve found it look for accessories like shoes, undergarments, and a veil to go with your gown. Tip: Think against taking all of your best girls out to find your dress. It can be overwhelming when you have six different opinions about a dress and you can’t decide if want to say “I Do” in it. Consider taking one or two of your girls and let your other ladies see your dress at the last fitting. 
  • Scan, scan, scan- Put on your sneakers, grab a scan-gun, and start building a Wedding gift registry. Make a date out of it! Take your hubby-to-be and scan items that you think you might like to have in your new place together. Big-name stores like Target, have a Wedding Registry bag with some awesome goodies, including a checklist to help give you an idea on what to scan. Tip: Remember once you scan something you can always decide later if you don’t want that item; in other-words, you can edit your registry list. Make sure to include items at all price points and register at several different stores to give your guests a variety of options. Think about starting a wedding website to tell of how you two met, how he proposed, and list the places you’ve registered at; websites like Wedding-wire make it easy for you to do this. 

7-6 months

  • Choose your invitations- Invitations set the style and tone of your wedding; in a way they give a preview of your family and friends on what to expect. You can also choose to have your invitations coordinate with your wedding colors but they don’t have to. Your invitations can be as informal or formal as you’d like but they give a clue to your guests on what to wear; you wouldn’t want your guests to come to a rustic barnyard wedding dressed in Vera Wang.
  • Save-the-dates-  While you’re trying to finalize invitations you should also be thinking about your “Save-the-dates”. It isn’t completely necessary but they give your guests a heads-up that you’re tying the knot. Your save the dates give you more of a freedom to show your personality and creativity. Tip: You should make the note that anyone that receives a Save-the-Date should receive a formal invitation to the wedding. 
  • Fly me to the Moon– If you and your future husband are escaping on somewhere exotic for your honeymoon, make sure your passports are up-to-date, and visit your local physician for any shots that you may need. Tip: If you’re having trouble narrowing down a destination try visiting websites like The Knot, Budget Travel, or AAA’s website.
  • Going to the Chapel- Whether or not you and your future-husband are planning on having premarital counseling, you should plan on meeting with your officiant to talk about the order of the ceremony, and make sure you have the proper documents. Keep in mind that some church communities have strict rules about only letting members of the church get married in their sanctuary, you should also ask about what music would be permitted durning the ceremony, and if photography is permitted during the service.
  • Dress your best-  You chose your dream dress, now it’s time to choose what your bridal party is wearing. Your bridesmaids shouldn’t be there to upstage you but you don’t want them to look- well, ugly. Think of your girls as being an accessory-  a way to play on color scheme you’ve chosen for the wedding. Don’t know where to start? Refer back to your stack of bridal magazines or visit websites like The Knot or the Wedding Channel‘s pages on Bridesmaid dresses, where they have dresses separated by color, length, and price. Tip: Be cautious of budgets for your bridesmaids, and what they can afford. Don’t be upset if someone in your wedding party can’t afford to fork out  $70 for shoes and $300 for a dress; try and stick with options that will fit with any budget. Be mindful of different body types as well; if you have a friend that doesn’t feel comfortable showing cleavage, or is super tall, you may want  to choose two different dress styles in the same color, or choose two coordinating colors, and have your ladies pick which ones they feel beautiful.
  • Finalize your Vendors– Your vendors are going to be the ones to bring everything from lighting, to chairs and linens, you wouldn’t want to wait beyond 7-6 months to finalize them because they could be already booked. To ensure you’re getting exactly who you want finalize your wedding date with them and remember to pay a deposit to secure it. Vendor won’t know for sure you want them unless you do.

Stay tuned for Part II of ‘From “To-Dos” to “Ta-Das”‘

Menu